
Thanks to its dedicated ImageChip, the HTC One has one of the best cameras out of all the smartphones currently on the market. Their branded UltraPixel Camera can take full resolution photos while shooting video, has superior auto-focusing, and provides great overall quality for everything from low-light to action shots.
However, one thing that's missing that would make this the perfect camera phone is Photo Sphere, which is currently a feature only available on Android devices running 4.2 or higher. If you currently have the Google Edition of the HTC One, you've got the Camera app that works with Photo Sphere. The rest of us will have to get it another way.
If you've been following some of my fellow softModders, you've probably already seen the Jelly Bean 4.2 Camera app and Gallery flashed over to the Samsung Galaxy Note 2 and Samsung Galaxy S3, but I'm going to show you how to do it on your HTC One.
Step 1: Root
Your HTC One will need to be rooted to get the Jelly Bean 4.2 Camera and Gallery with Photo Sphere.
Step 2: Download the Flashable ZIP
In order to get the stock Android camera on your HTC One, you'll have to install the AOSP Camera and Gallery. This easiest way is to download this flashable .zip file made available by XDA user sharingan92. Put this .zip file on your phone's internal storage.
Step 3: Flash the 4.2 Camera from Your Recovery
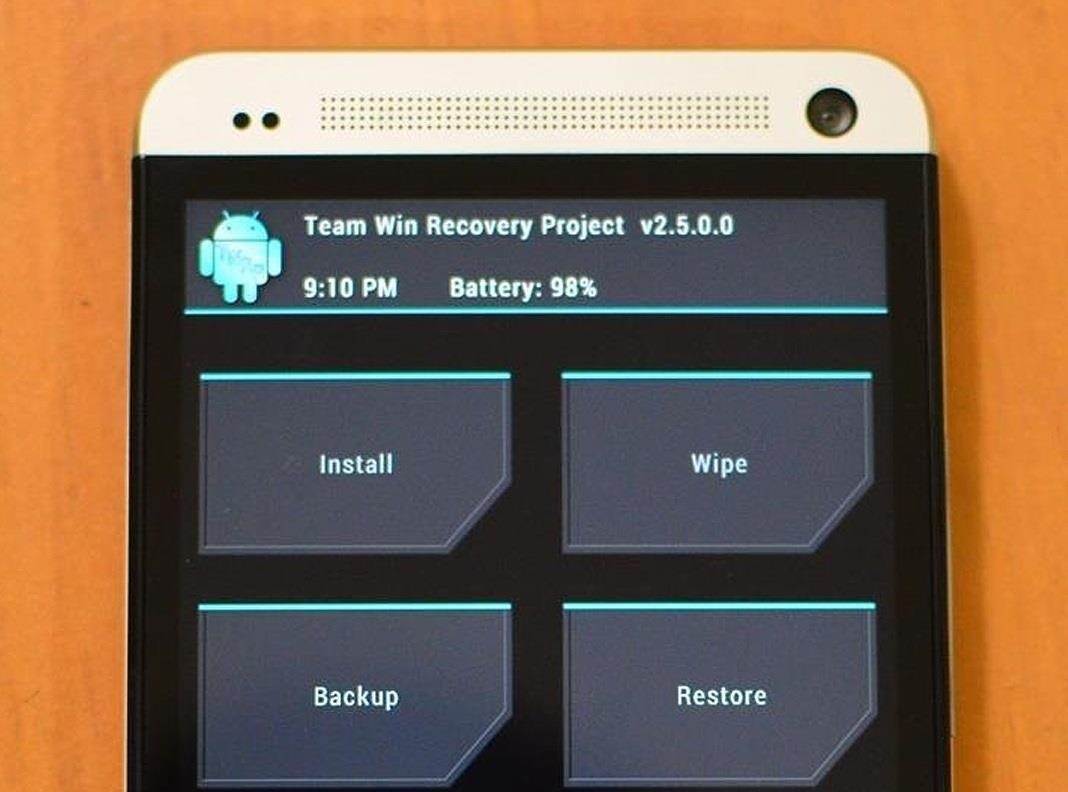
Boot into your bootloader by pressing and holding Power and Volume Down simultaneously, then select Recovery and press Power.

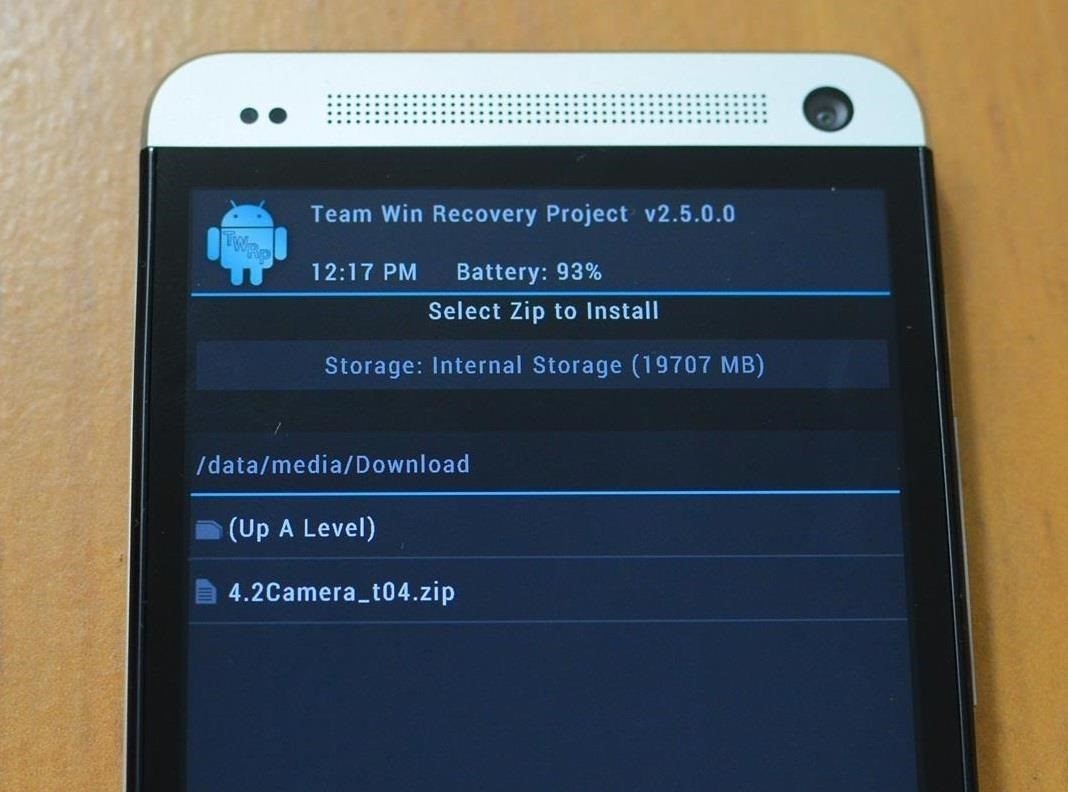
Tap Install, navigate to the directory where you copied the .zip file, tap said file, and Swipe to confirm. Once it finishes, simply tap Reboot System.
Step 4: Start Creating Spherical Panoramas
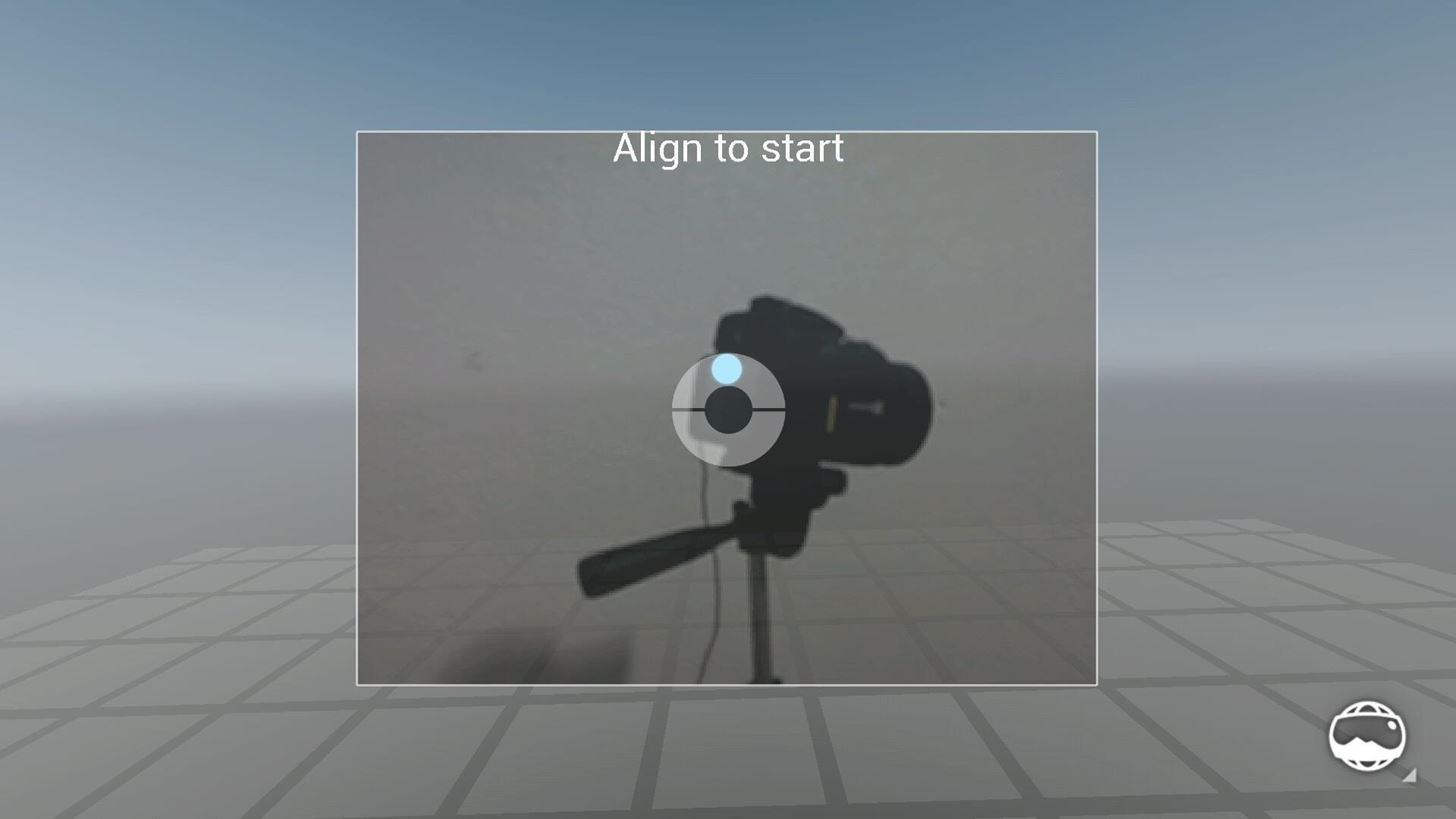
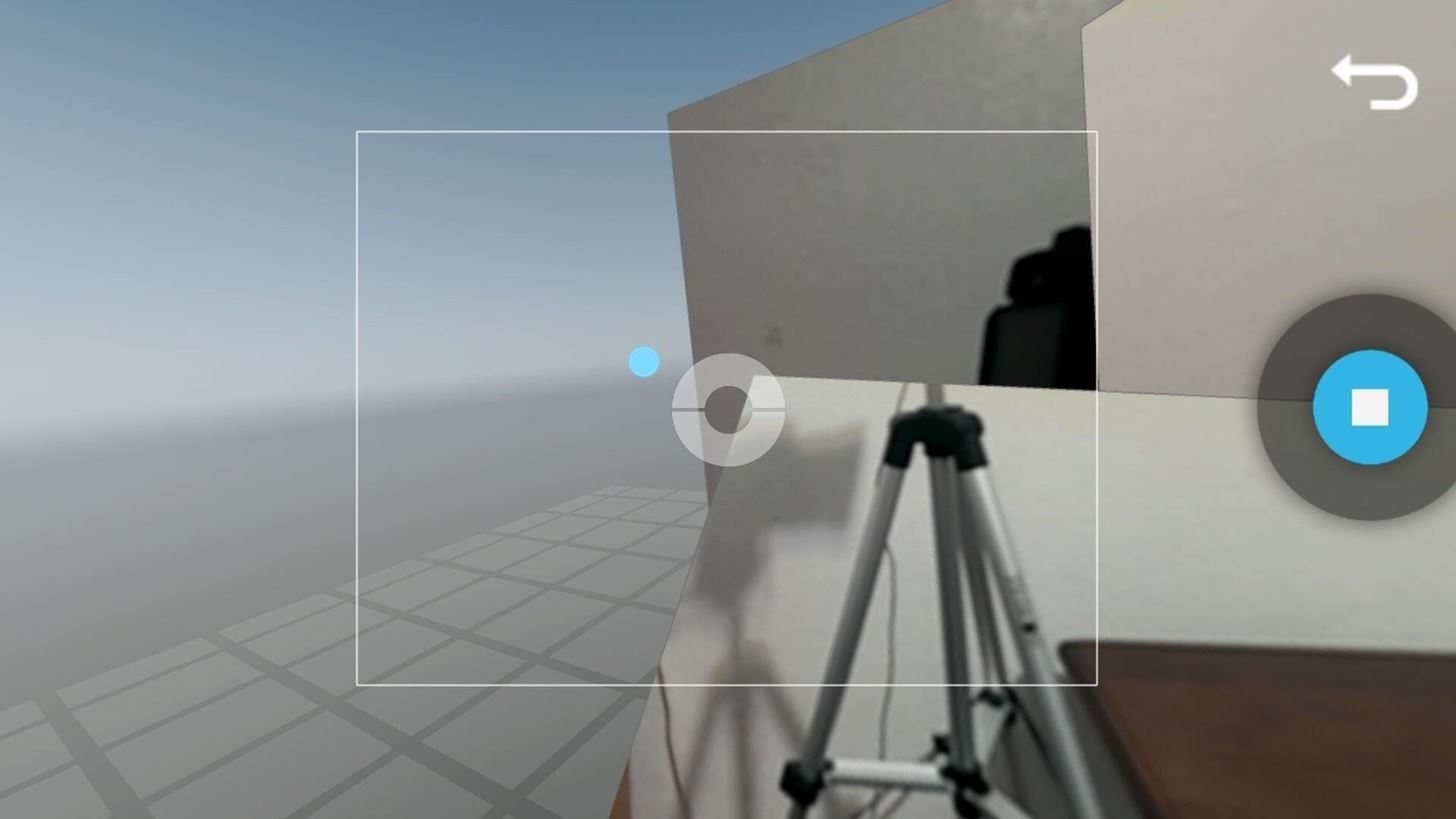
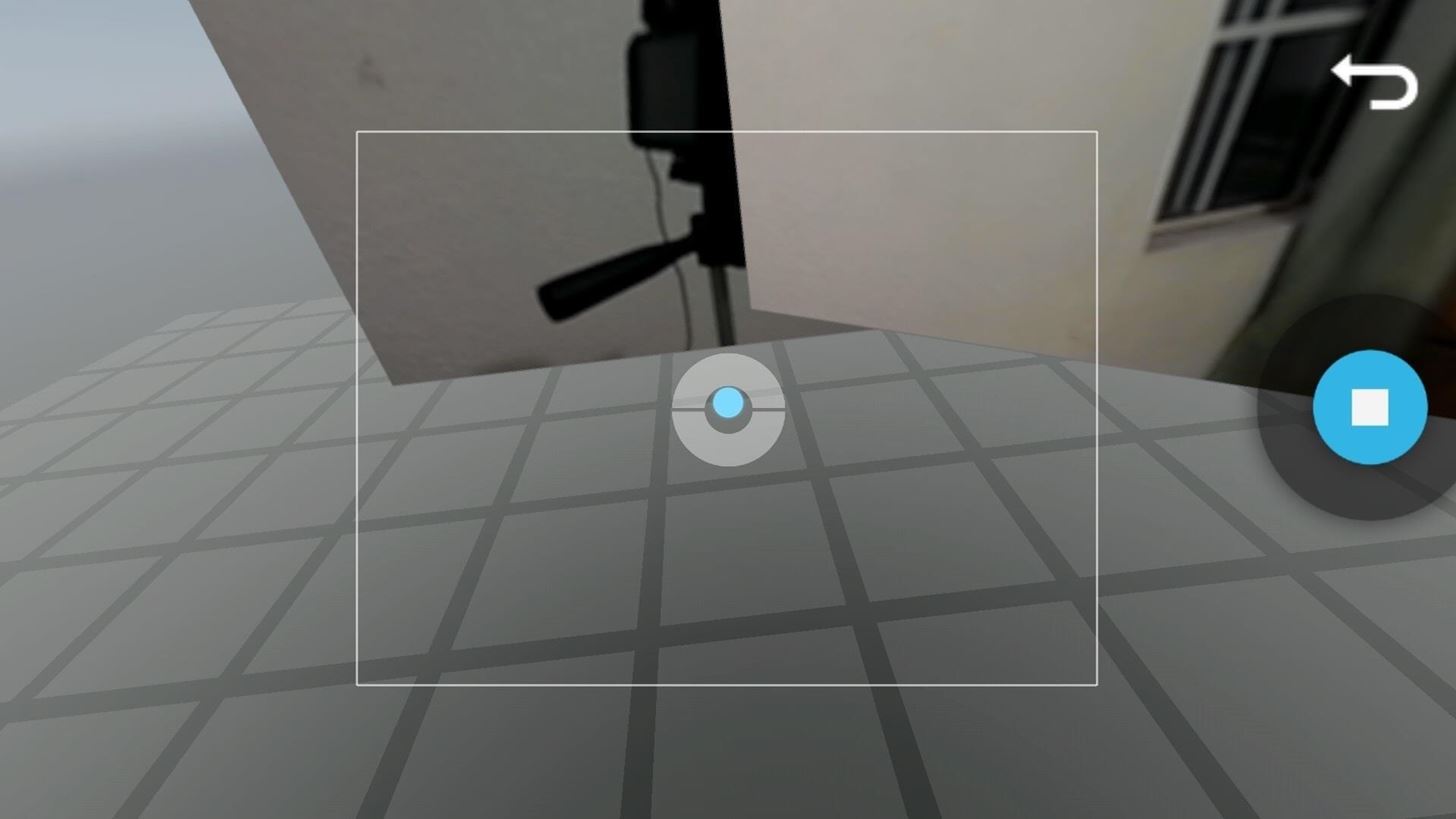
Now you'll have two Camera apps and two Gallery apps on your HTC One. Open the new Camera app and select the Photo Sphere mode from the bottom left corner. An alignment box will appear, saying "Align to start."
Just hold it steady in the center of what you want to take a Photo Sphere and make sure the floating dot is at the center of the target area.
When it's ready, the blue shutter button with a white square appears below the image. Don't press it. Instead, start moving the camera around to create the Sphere until you're ready to "capture" it, then touch the blue shutter button.
Here is an example photo I took:
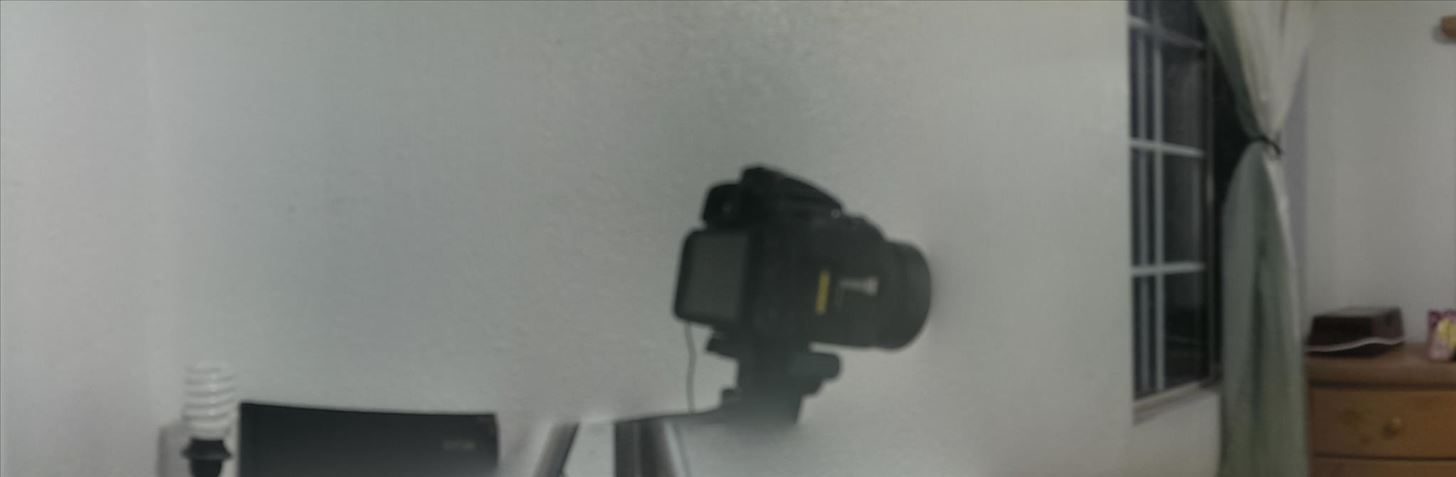
I should probably play around with it a bit more, because photosphering takes some getting used to!
Now, once we've mastered the art of Photo Spheres, it might be time to move onto the upcoming Jelly Bean 4.3 Camera & Gallery. Yes, it has already been made available, and you can check it out in action in Nelson's guide to installing it on the Samsung Galaxy Note 2.
Just updated your iPhone? You'll find new emoji, enhanced security, podcast transcripts, Apple Cash virtual numbers, and other useful features. There are even new additions hidden within Safari. Find out what's new and changed on your iPhone with the iOS 17.4 update.


2 Comments
Can't you just use an APK? I can't root my HTC One on windows 8 but I would love to do this.
You can for the new 4.3 camera which is better. Check out my guide here on how to do it.
Share Your Thoughts