

In my quest to find the perfect OS for my HTC One, I try any and every ROM I can get my hands on. This leads to countless repetitions of the wipe, install, and boot routine when I flash a ROM in recovery, especially when the newest ROM I try is a buggy piece of junk.
But lately the process has been much easier thanks to MultiROM, which in reality is more of custom recovery than a ROM. The multiheaded beast that is MultIROM was created by developerVojtech Bocek with the intention of allowing users to install and boot as many ROMs as their device can hold. I jumped at the chance to try this on all my supported devices since it meant that I will no longer have to lose my main ROM setup whenever I want to try a new one.
Before We Get Started
It goes without saying, but since you'll be installing a ROM, you will need a rooted HTC One with an unlocked bootloader. Also note that this process will replace your current recovery with a modified version of TWRP.

You will also need to install MultiROM Manager from the Google Play Store, which is an app that makes it much easier to install all the necessary ROMs, kernels, and recovery files needed.
Step 1: Installing MultiROM
Fire up MultiROM Manager and grant it superuser permission. It will scan your device to see what it needs to install to make it MultiROM compatible.
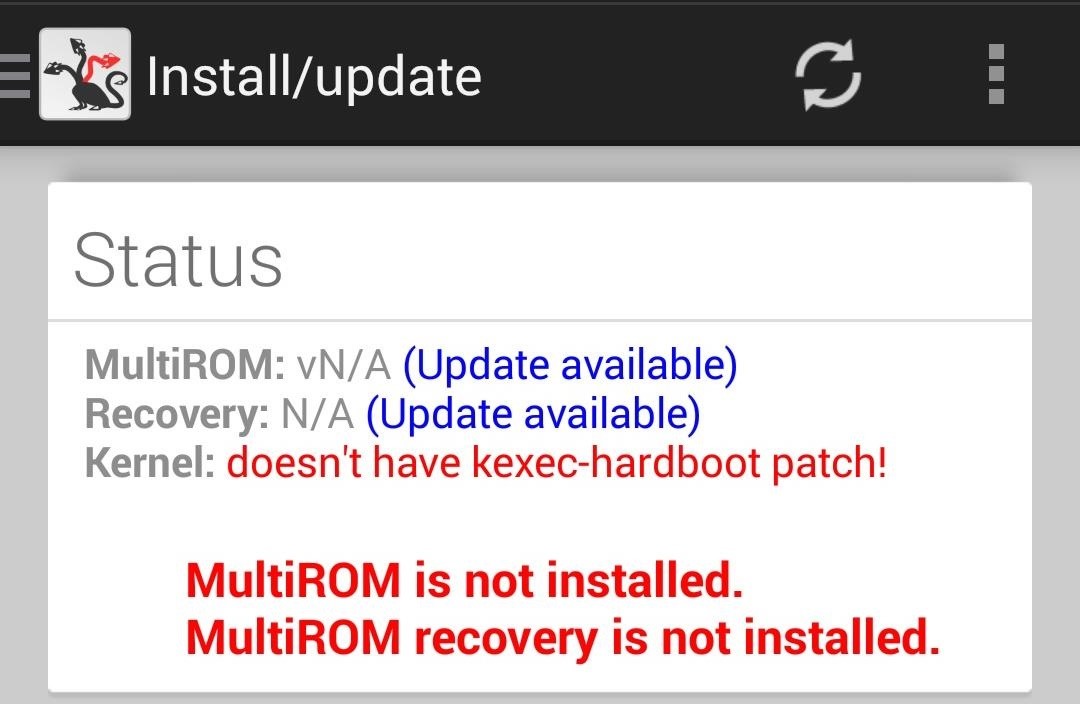
By default you will need to install MultiROM itself and the modified recovery image. Depending on your current ROM, you may already have a properly patched kernel, but if not, you will be able to install a kernel with the kexec-hardboot patch right from the app. Remember that this kernel is only applied to your main ROM, so if you plan on installing a custom kernel for a future ROM, you need not worry.
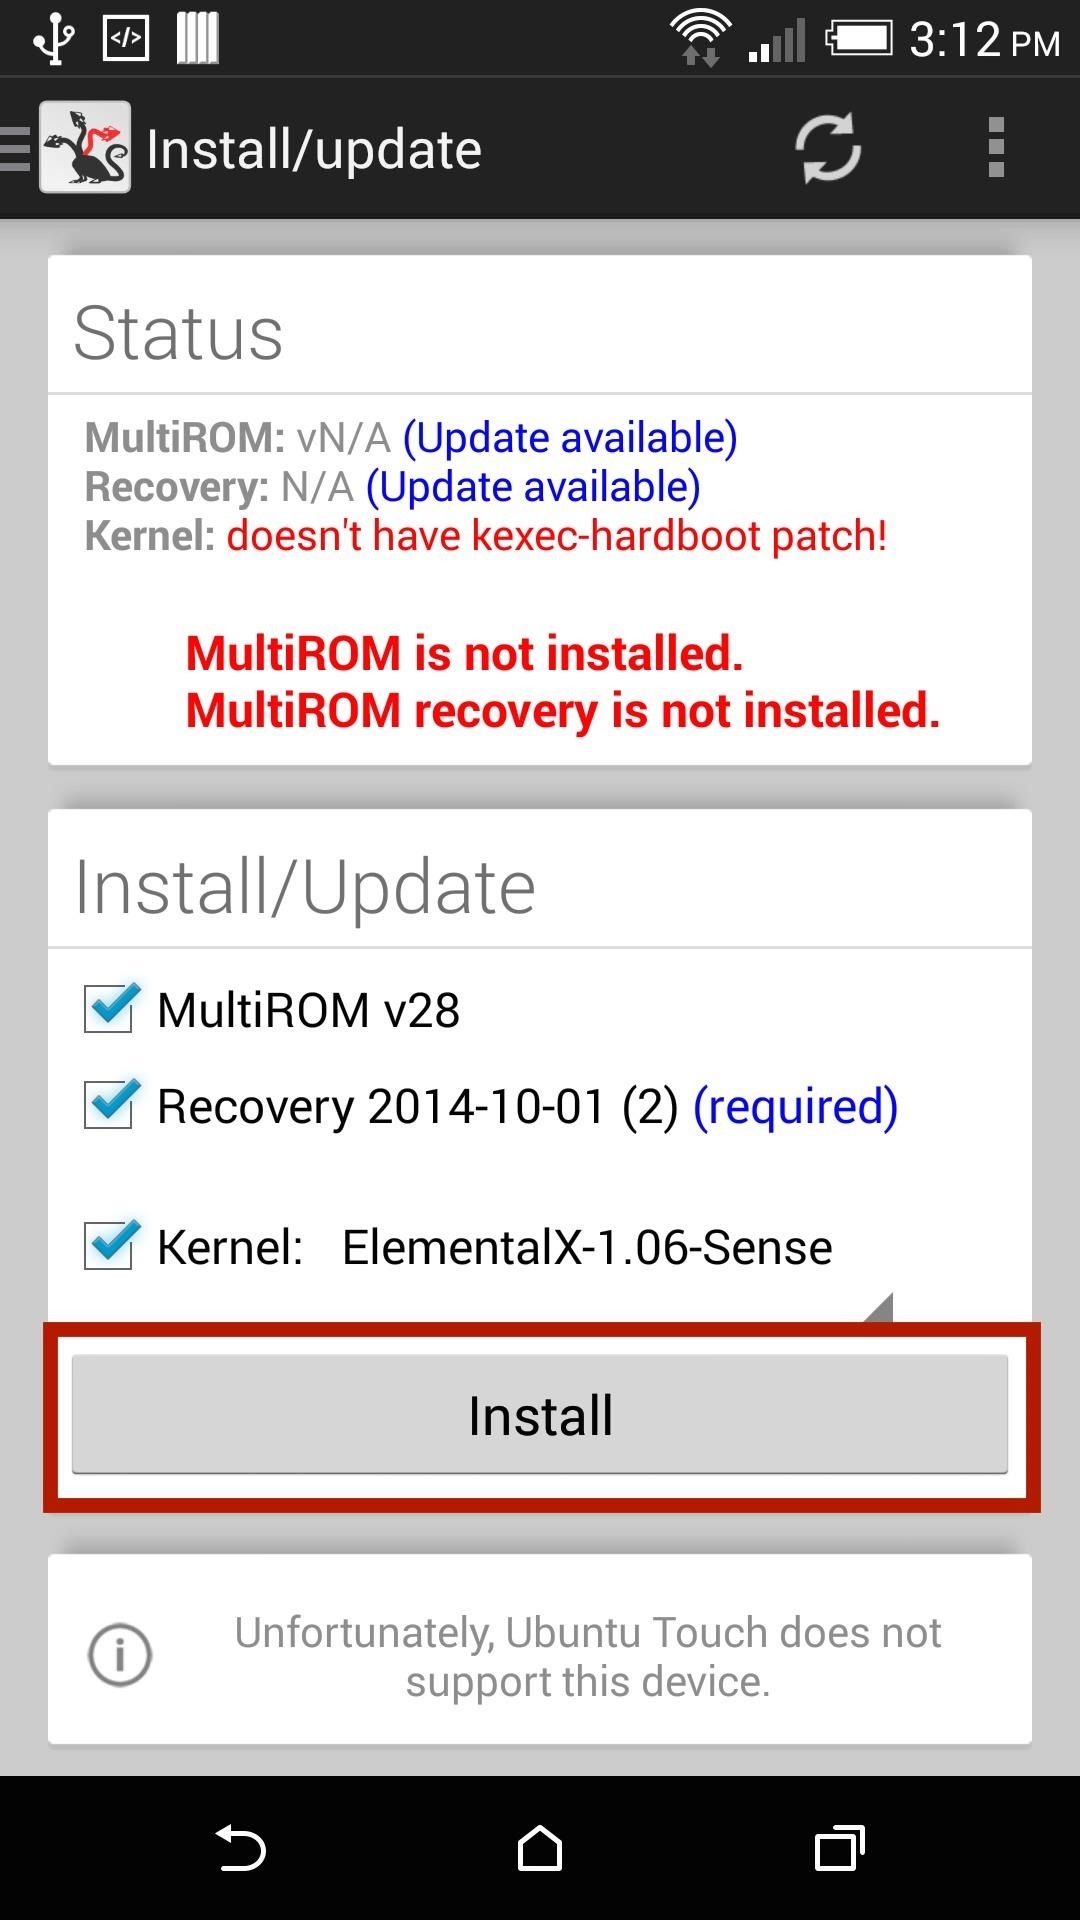
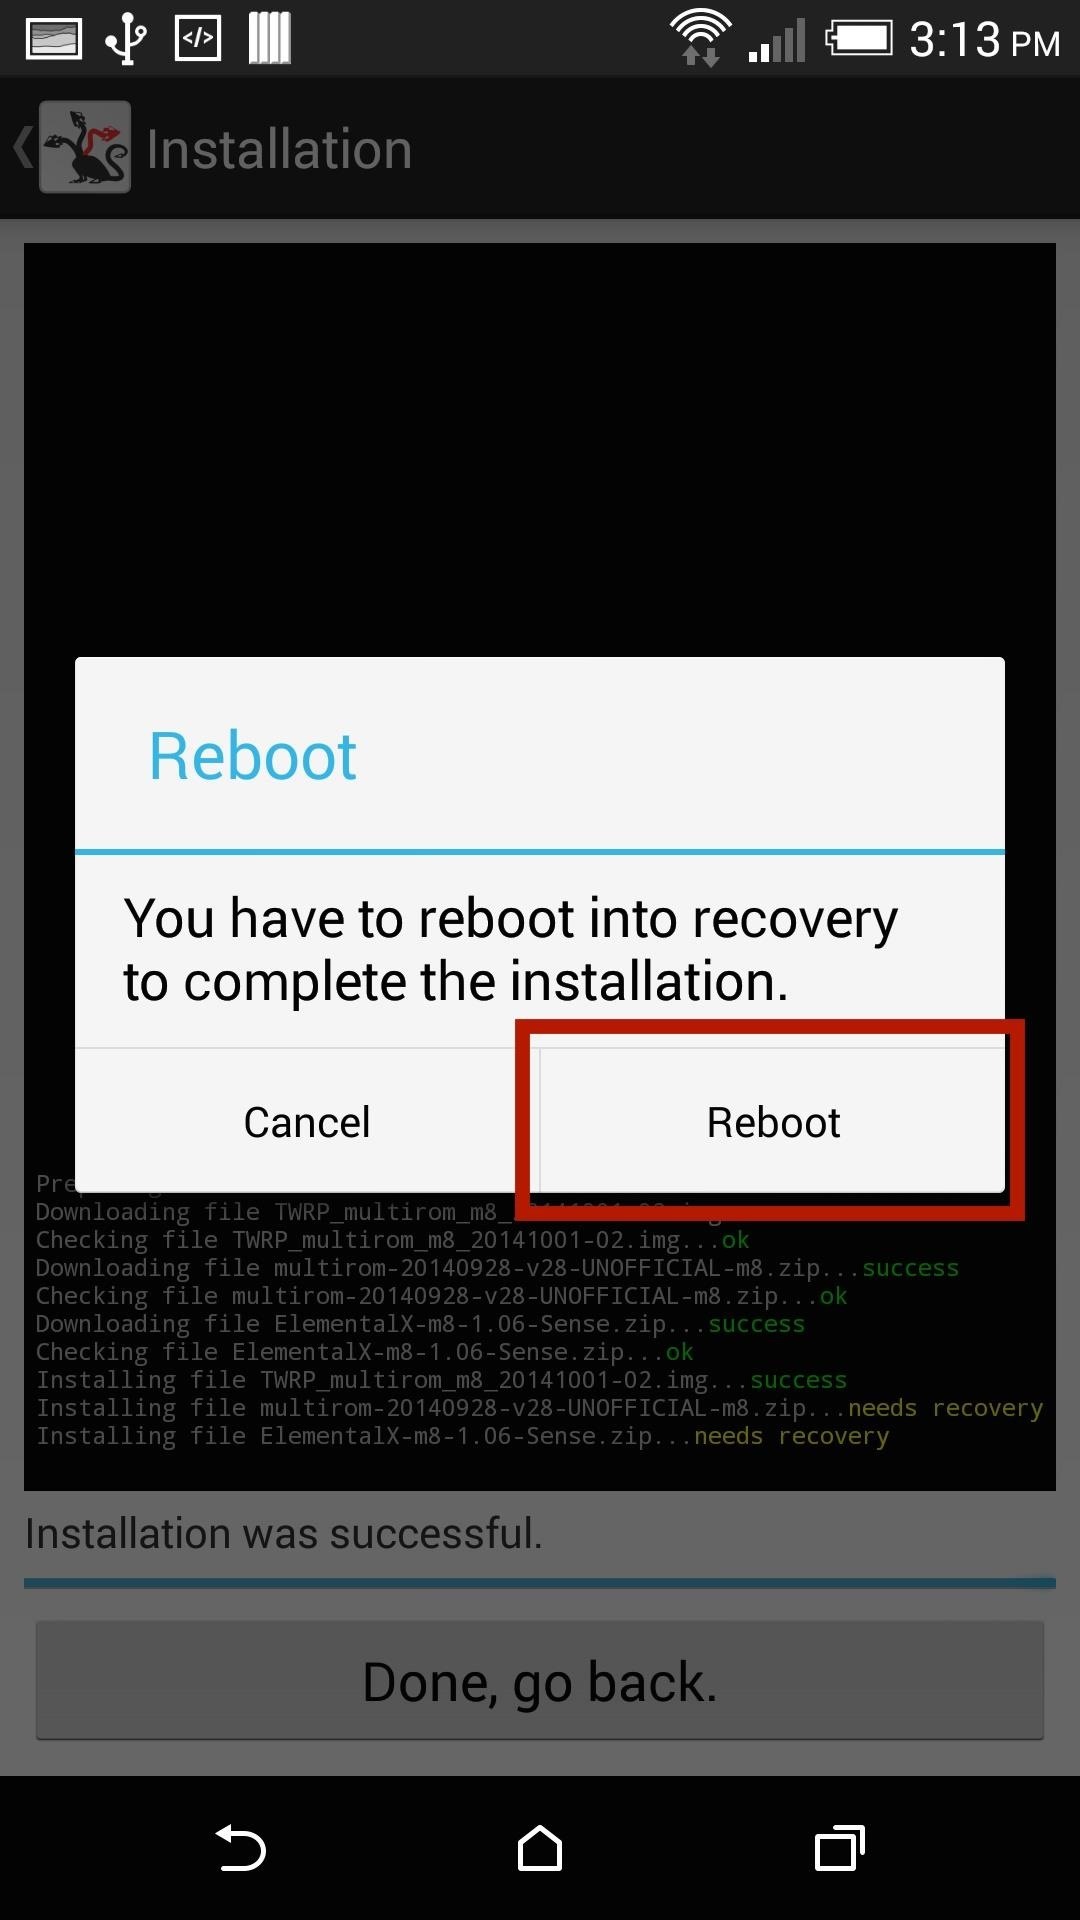
When you have all the appropriate files selected, tap Install to download and flash them. If you are using an M7, you will get the MultiROM port created by Dominik Jalc, but if you have a M8, it will be the version created by Alexandru Gherghina. Once the download and install finishes, you will need to reboot your device.
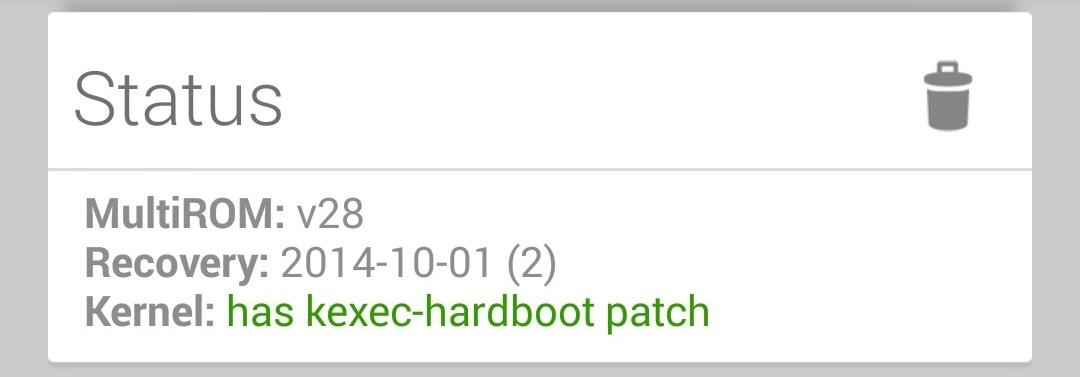
Sometimes the kernel does not install on the first attempt, so be sure to double check in MultiROM Manager.
Step 2: Root Your Device (Optional)
If your loses root after installing MultiROM, simply flash SuperSU in TWRP to get it back.
Step 3: Install Another ROM
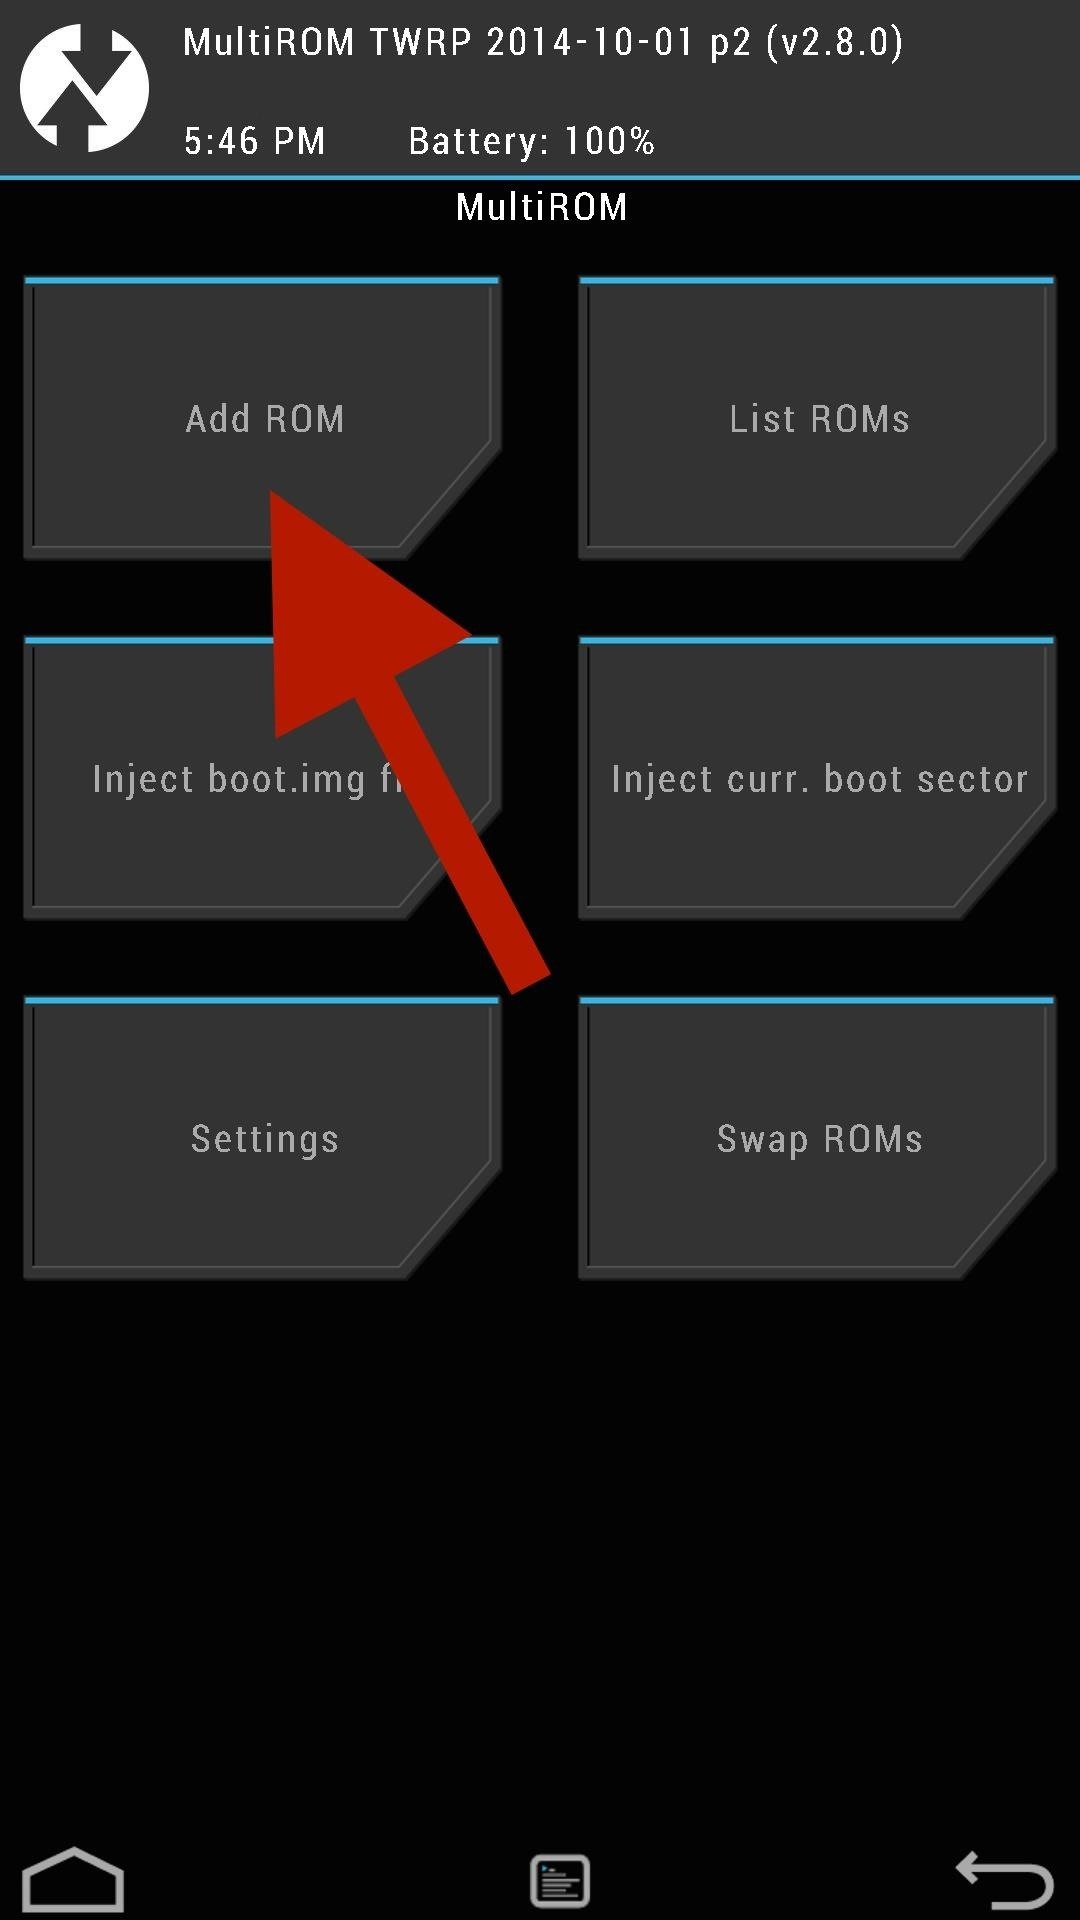
MultiROM Manager cannot actually install ROMs—that'll be done through the modified TWRP recovery. Boot into TWRP by powering your device off, then pressing and holding Volume Down + Power and selecting Recovery from the bootloader menu. From there, tap Advanced -> MultiROM -> Add ROM.

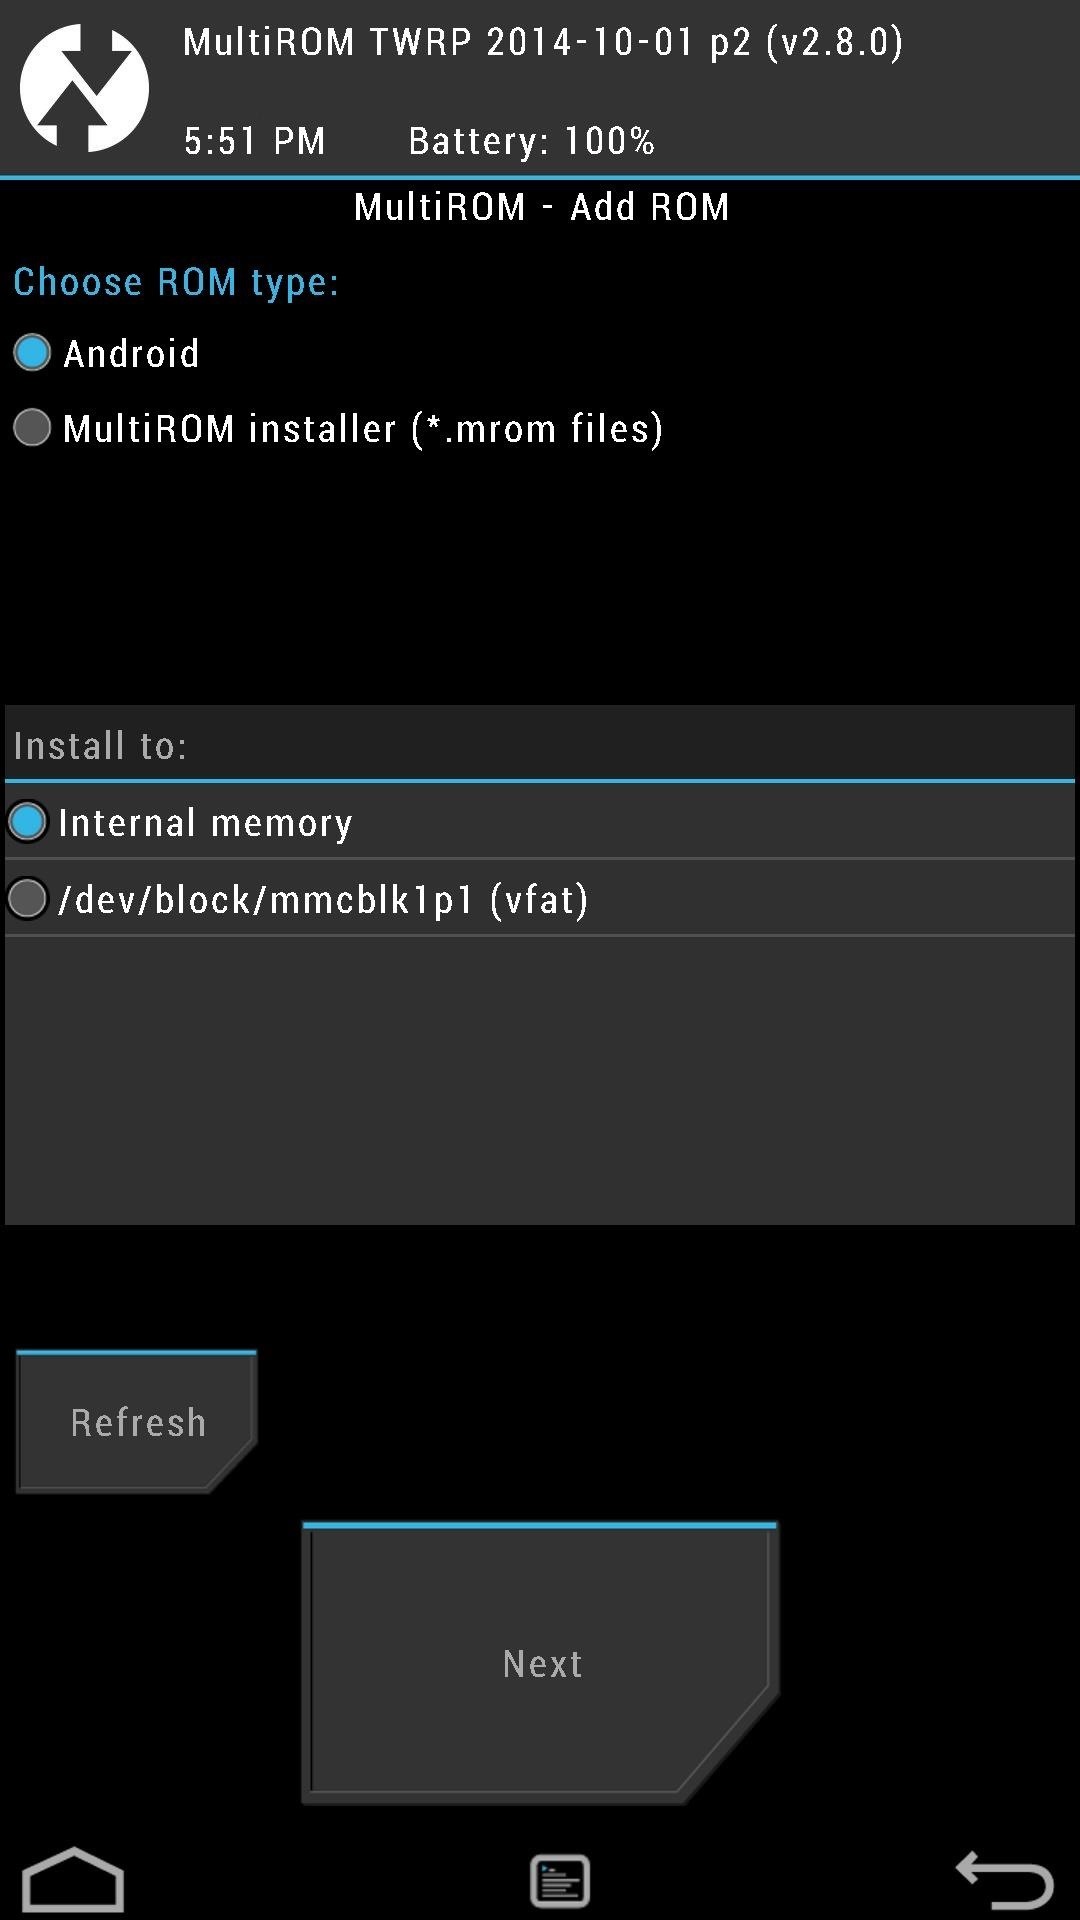
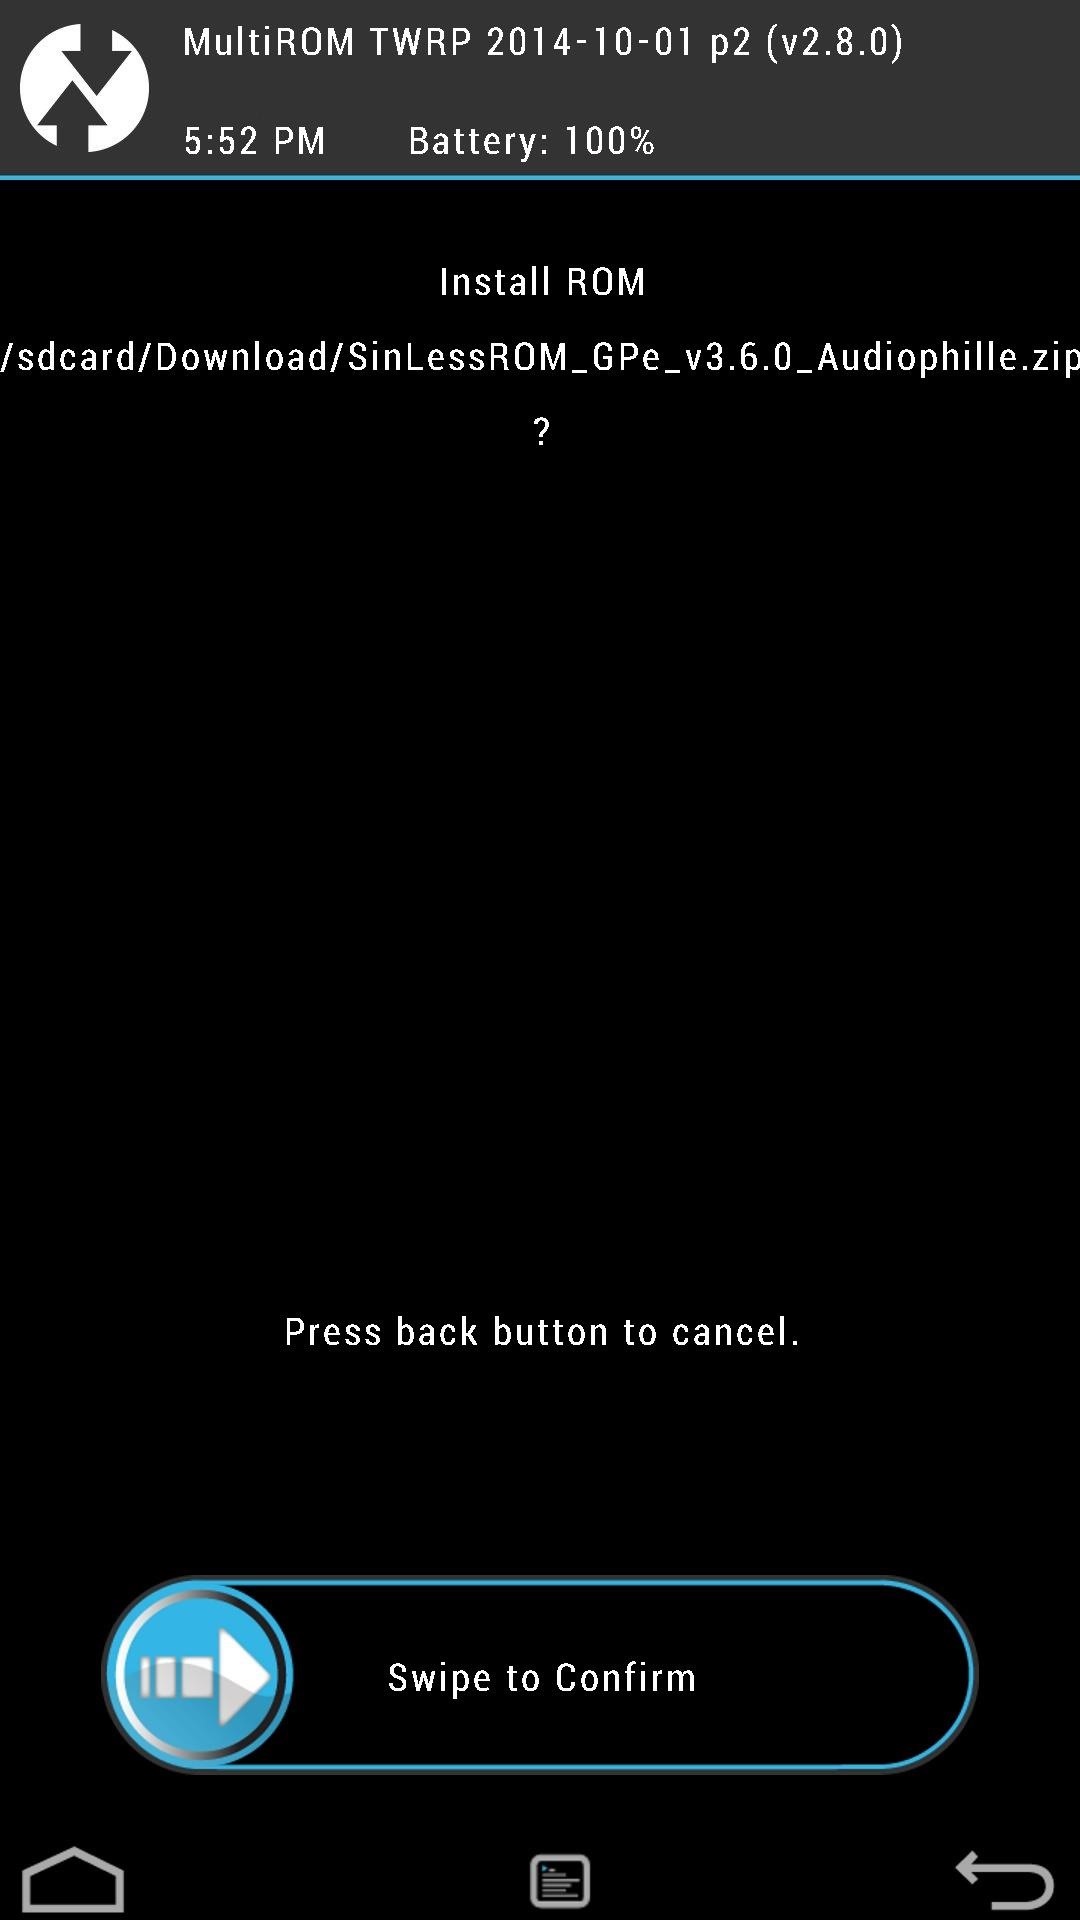
You will need to select your ROM type, where you want it to install to, and what source file you will be installing from. I'd recommend installing to your internal storage unless you have a high speed SD Card on your M8. Once the installation is complete, you will need to reboot your device.
Step 4: Selecting a ROM to Boot
Now whenever you reboot your device you will be brought to the MultiROM boot menu. Booting into your last used ROM requires no action, but tap Cancel and select your desired ROM to boot into a different one.

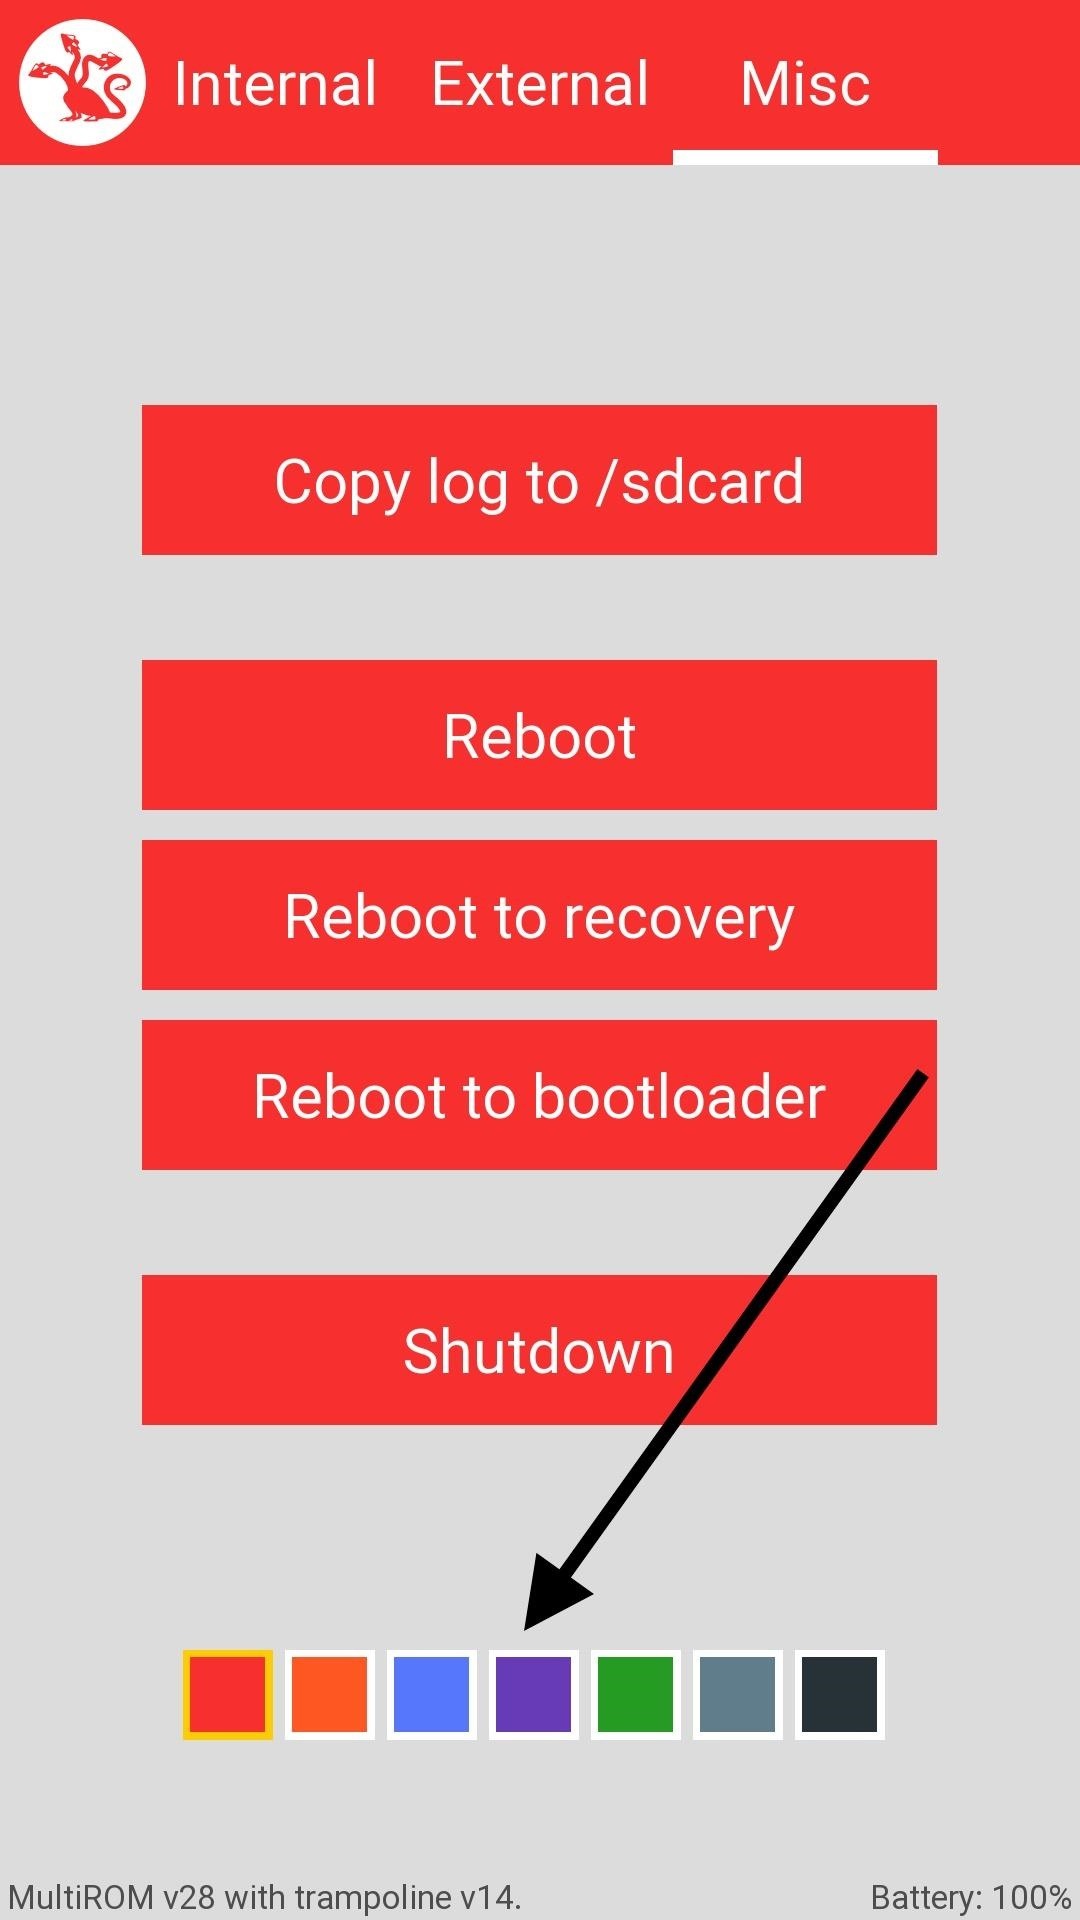
You can also change your menu theme color from the Misc menu.
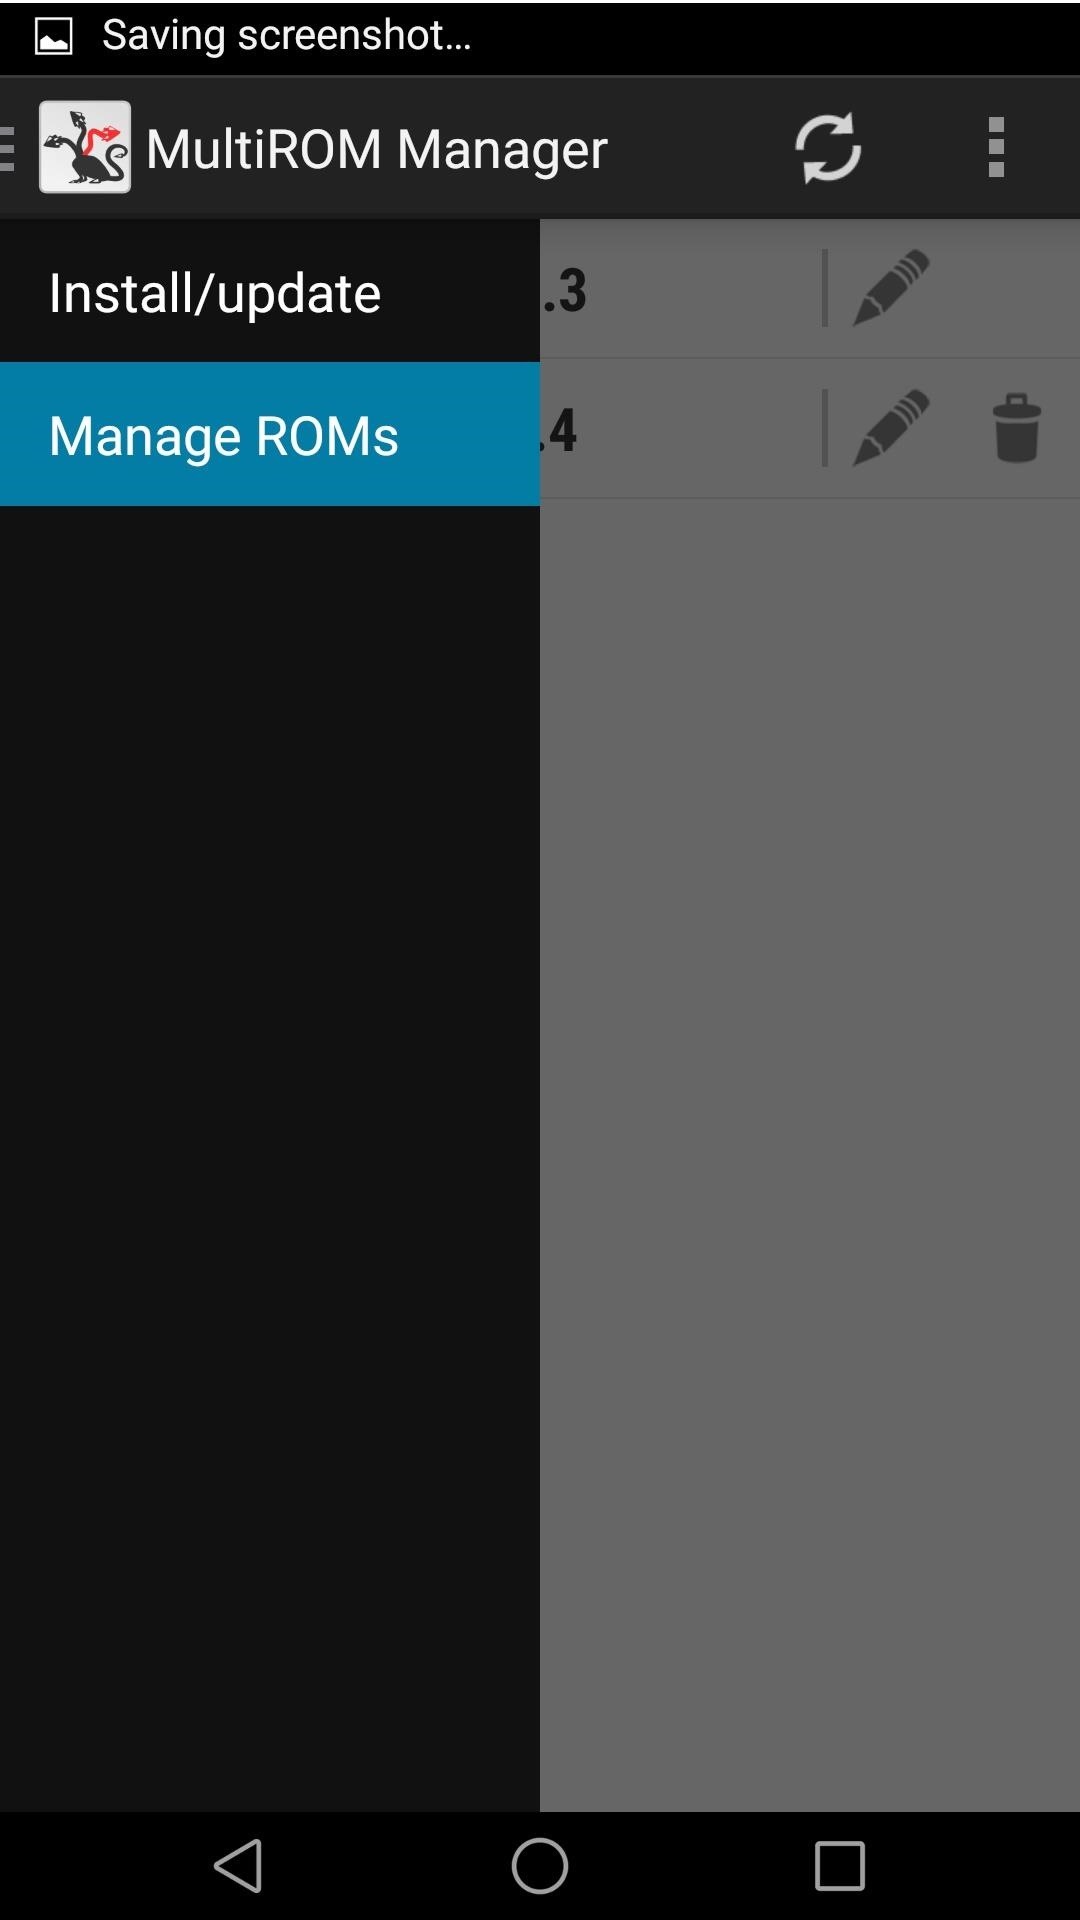
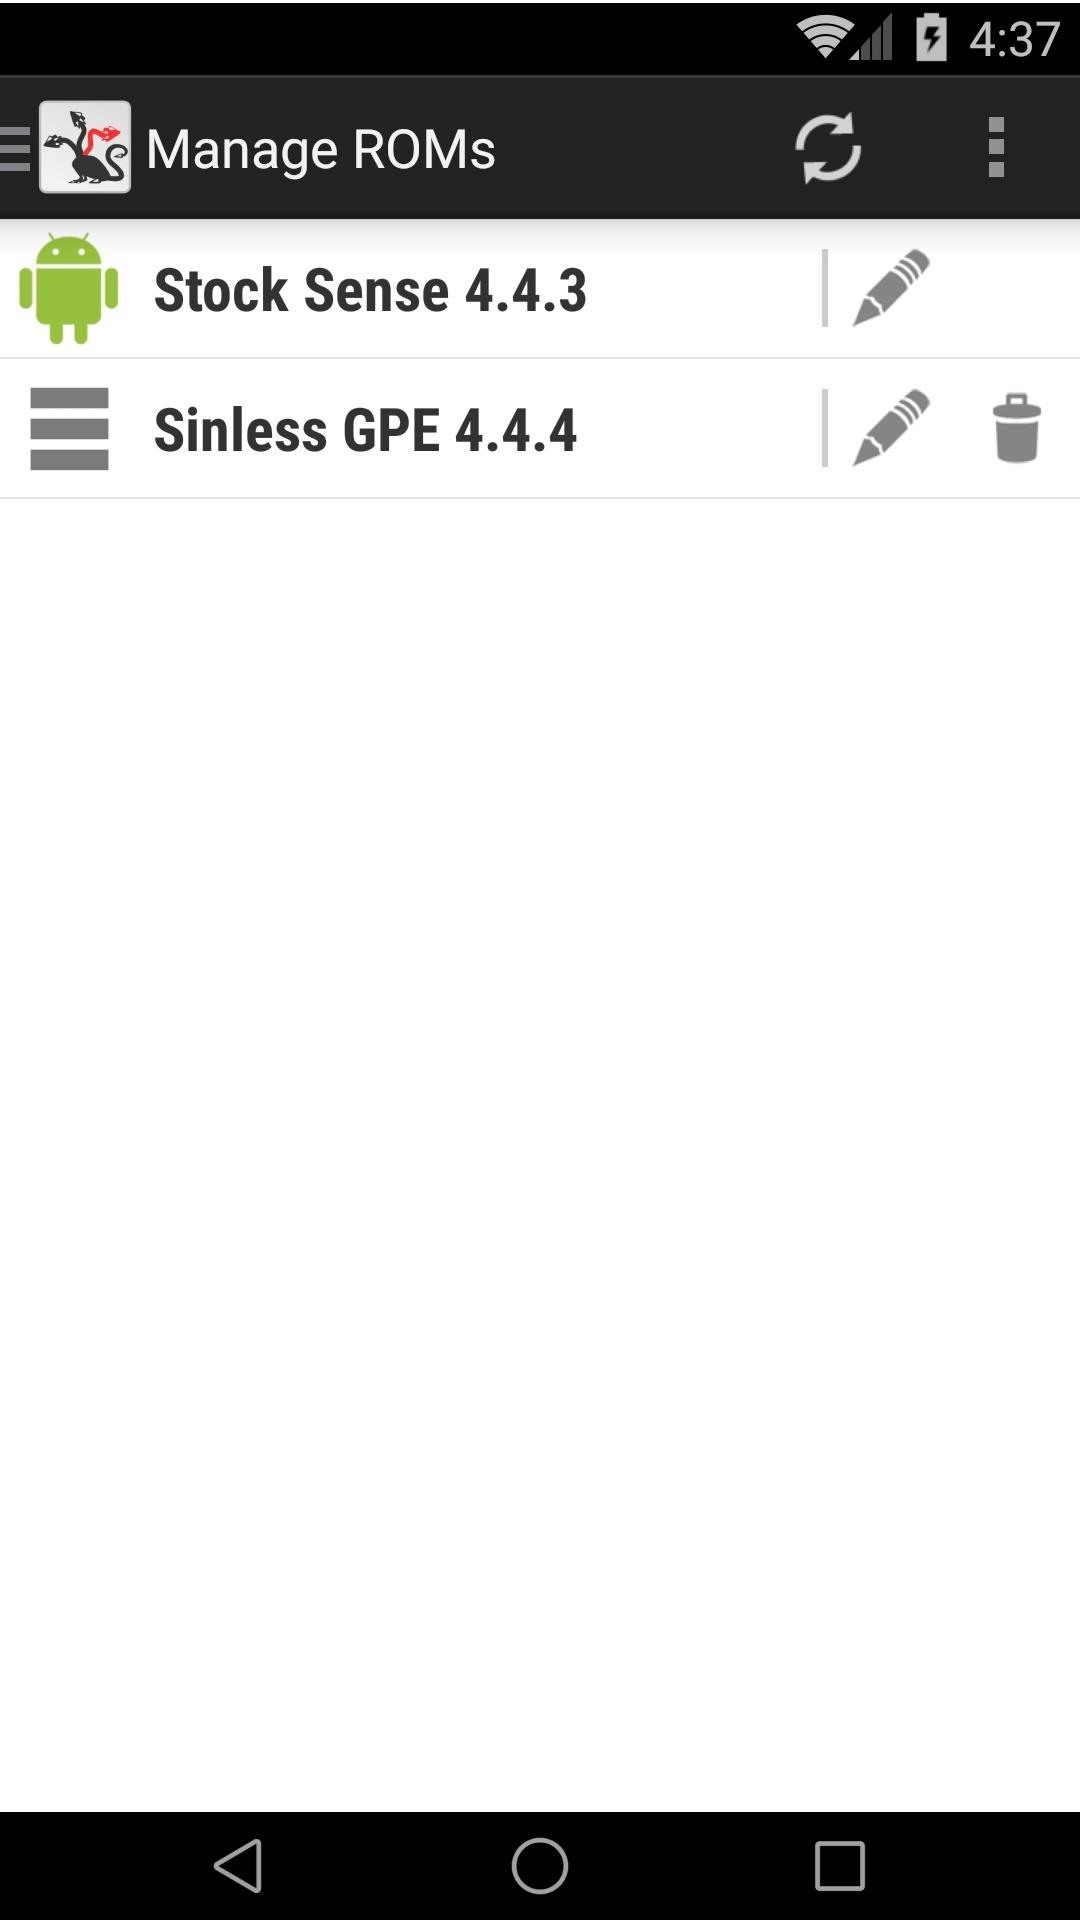
Managing Your ROMs
Despite not being able to install ROMs, MultiROM Manager can rename and delete them. From the left slide out menu, you can tap Manage ROMs to see a list of the ones you have installed. Tap the Pencil icon to rename them, and the Trashcan icon to delete them. You should also note that you cannot delete your original ROM since it has the patched kernel installed along side it.
If you run into any issues getting a ROM set up or just want to share your experience with MultiROM, feel free to drop me comment below or on Facebook and Twitter.
Just updated your iPhone? You'll find new emoji, enhanced security, podcast transcripts, Apple Cash virtual numbers, and other useful features. There are even new additions hidden within Safari. Find out what's new and changed on your iPhone with the iOS 17.4 update.


Be the First to Comment
Share Your Thoughts