
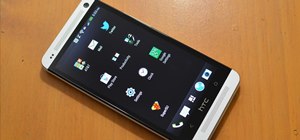
While I consider myself to be a pretty organized guy, there are often times where I just can't find a file I put on my phone. Most of the time, when I download a file it goes automatically into my Download folder, but when I use a third-party to download other files, like torrents, they could end up in a number of places. Filtering abilities on file explorers often fall short, so it was time to find an app that would automatically sort files in real time.
Developer Ludwig der 10.1v came up with exactly what I needed with his app Auto Move. The app acts as a background service that automatically reads every file on your device and places them into predefined folders that you set up.
Step 1: Install Auto Move
Auto Move comes in two flavors, a free version and a paid version for $1.29. Both come with filtering abilities, but the free version limits you to only one and lacks the backup capabilities that come with the paid version.

Step 2: Create Your Filter
The filter wizard will start right when you open the app for the first time, so start by selecting your source path, which is the directory that Auto Move monitors for files that meet your filter's criteria.
If you want to scan your entire internal storage, set your source path to /storage/emulated/0. The target path is where your filtered files are moved to, so it should be a folder that indicate something along the same lines as your filter criteria, like Movies if you're filtering out video files.
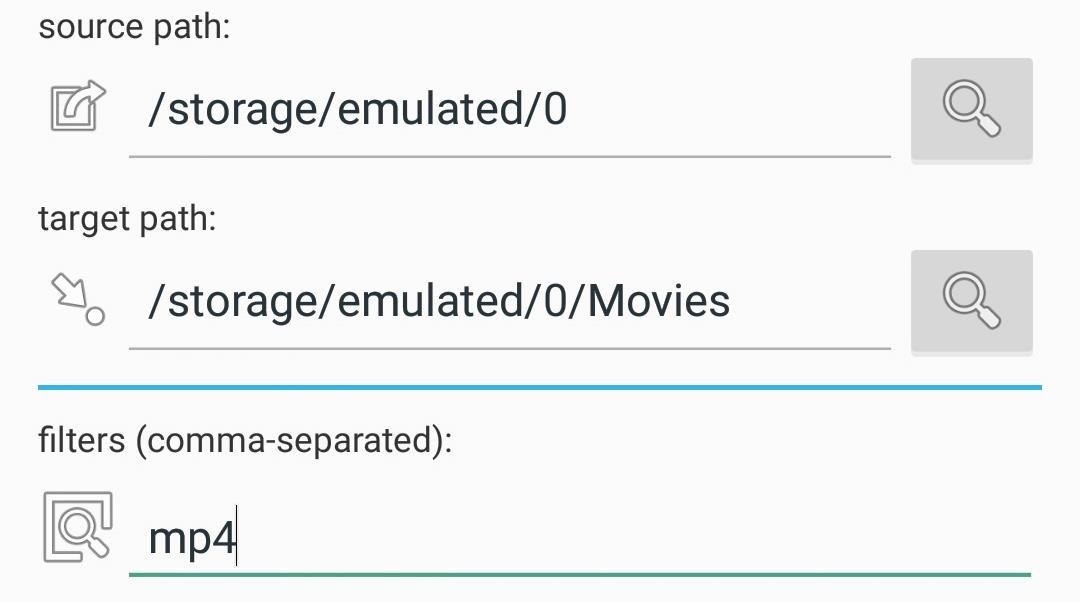
Now that your source and target paths have been set up, it's time to create the filter itself, which can be either a file extension(s) or keywords in the file name. If you choose to filter for multiple extensions or keywords, separate each new item with a comma (no spaces).
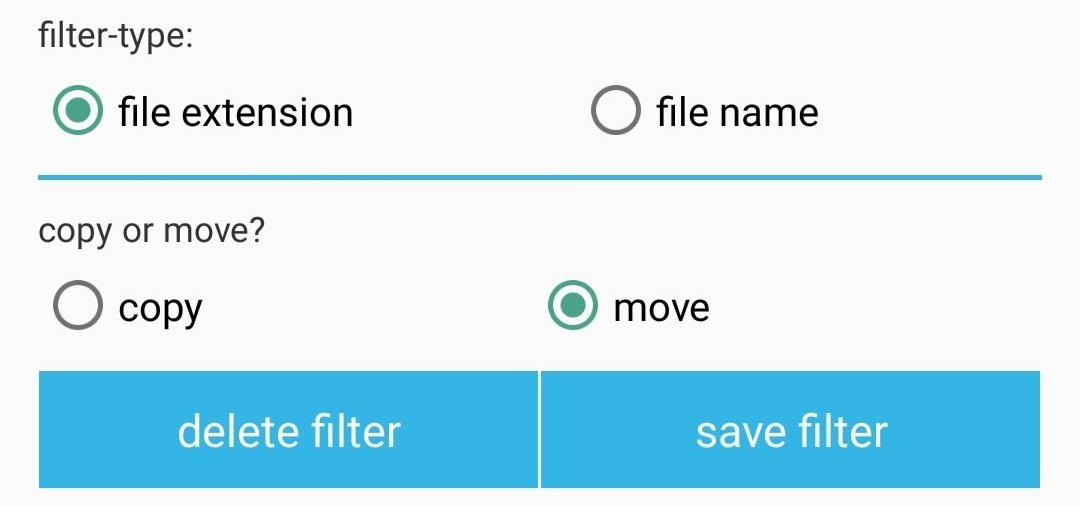
You can choose to copy the original file and place its copy in your target folder, or move the file entirely to the target folder. After you've got the filter set up exactly how you want, tap save filter.
Step 3: Activate the Service
The final thing to do is to actually starting the filtering service by pressing the Play button up top.

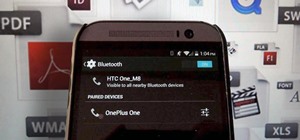
If you have the free version of Auto Move, you can test it out to see if it meets all of your needs, then opt for the full version if you want to create multiple filters. Pairing this app with GDriveSync creates an easy way to automatically move and sync files to your Google Drive account.
What do you think of Auto Move? Let us know in the comments below, and make sure to hit us up on Facebook and Twitter, too.
Just updated your iPhone? You'll find new emoji, enhanced security, podcast transcripts, Apple Cash virtual numbers, and other useful features. There are even new additions hidden within Safari. Find out what's new and changed on your iPhone with the iOS 17.4 update.


1 Comment
Hey guys, Hey Andrew!
I'm the developer of this app and at first: A big thanks for this article!
But I have to correct on of the points mentioned above: It's not possible to select a folder to filter in it for all files in this folder AND the subdirectories. The filter will only recognize files in the selected folder (NOT in the subfolders). Maybe you can rectify this in your article. :)
Thank you,
cheers
Ludwig
Share Your Thoughts