

We use ADB and Fastboot for so many things in our softModder tutorials, and to get them, you normally have to download the entire Android SDK and install them. But not anymore.
shimp208 over at XDA Developers has made a minimal installer that we can download that'll only give us what we need, instead of the full SDK, and I'm going to show you how to get it all set up here on your 32- or 64-bit Windows computer.
Prerequisite: Install Your Drivers
This will do you no good if you don't already have the drivers for your device, so make sure to install those first on your PC.
Step 1: Download the Installer
The newest version of Minimal ADB and Fastboot is currently 1.1.3, and you can download that directly using this link. To check for updates, just head over to shimp208's original thread on XDA.
Step 2: Install the Minimal ADB and Fastboot
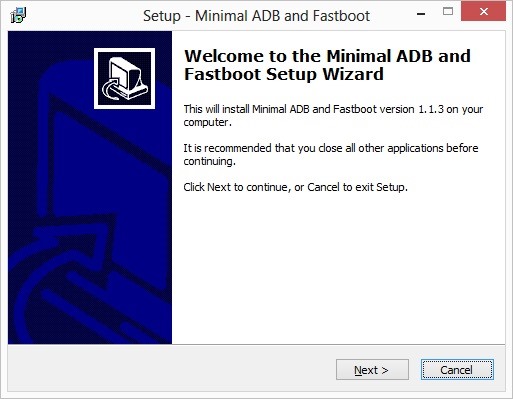
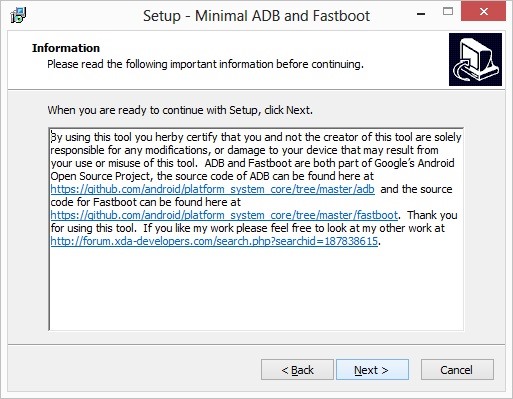
Run the installer, then click Next, and read the information. Click Next again to proceed.
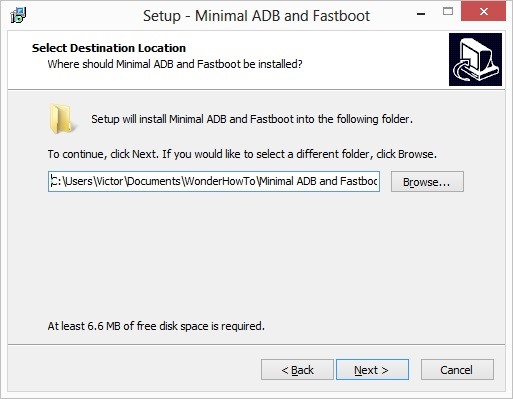
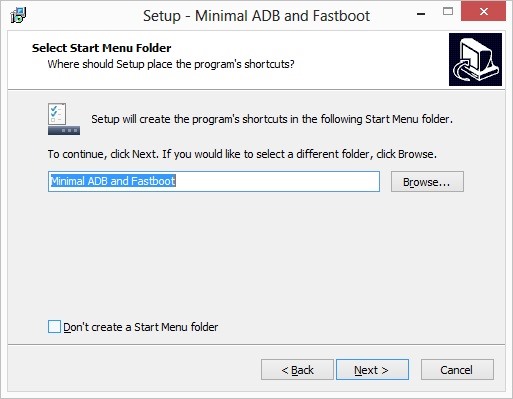
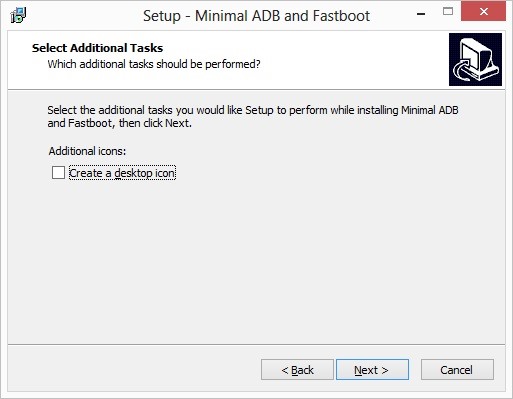
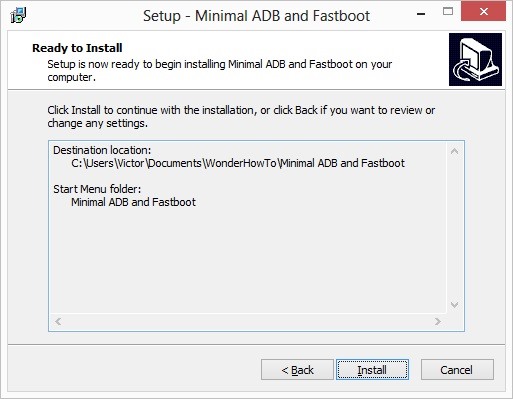
On the next page, choose the directory where you want your SDK tools to be installed, and click Next. On the next two screens, you can decide if you want Start menu and/or desktop shortcuts.
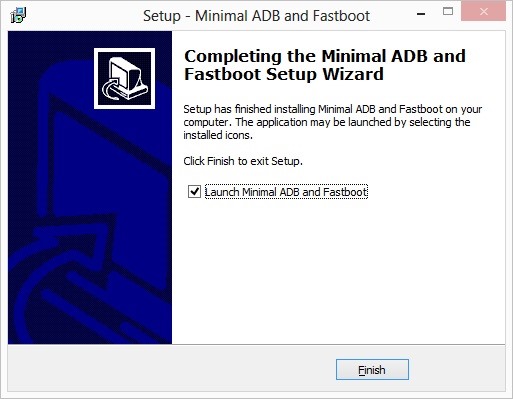
Finally, we're done choosing options. Click Install. You can open it after installing if you like.
The Next Steps Are Optional, but Suggested
You could start using the SDK tools right away, but there are a couple more things to do that are very helpful. By doing this step, other programs can use the SDK tools, and you can use them without navigating to the directory they're installed in.
Step 3: Set Path Variables
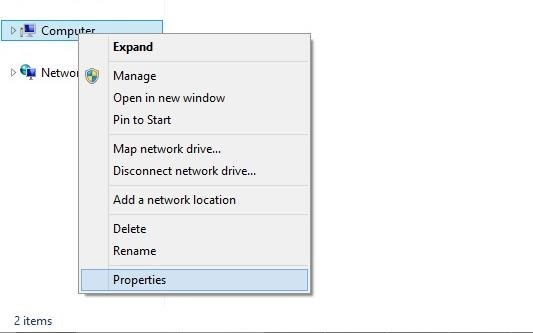
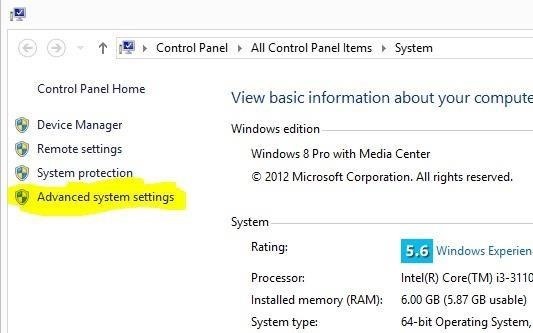
Open your Start menu (Windows XP through 7) or Start screen (Windows 8), right-click on My Computer, and select Properties.
On some versions, you'll have to click Advanced System Settings on the next screen.
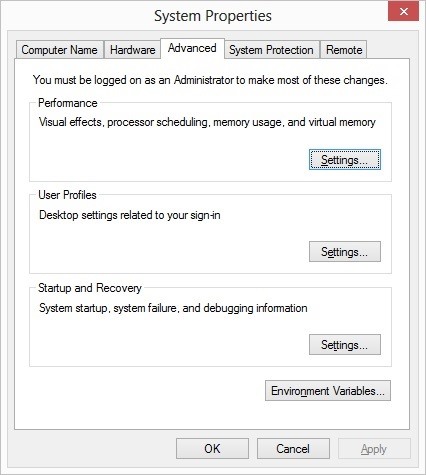
On the Advanced Tab of the Properties screen, click Environment Variables.
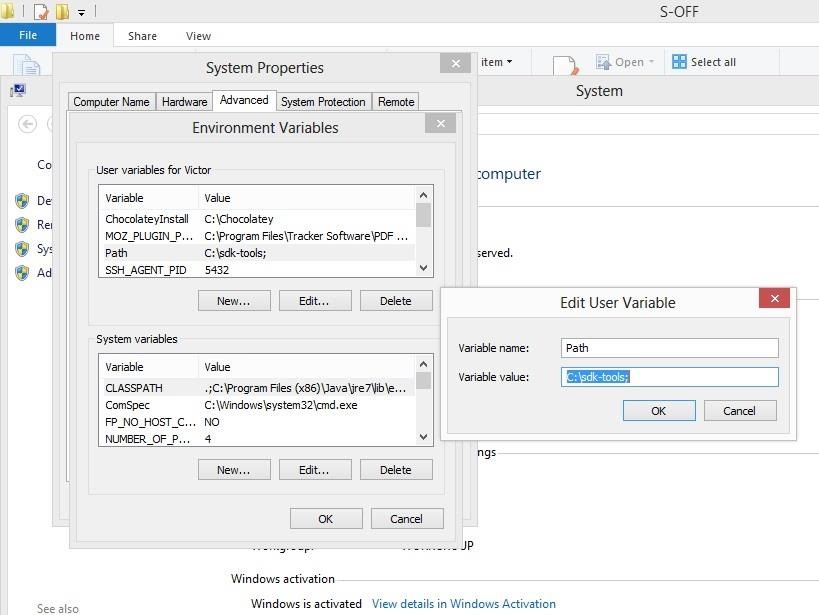
Finally, edit both your User and System PATH variables. At the end, add a semicolon (;) and the directory where you installed the SDK tools.
Step 4: Install the Google USB Driver
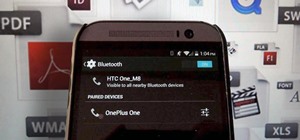
We're almost done, but we need to make sure our Android devices are detected as ADB devices. Download the driver here, extract the zip file anywhere, right-click android_winusb.inf, and click Install.
You can now use the SDK Tools in almost any situation.
Just updated your iPhone? You'll find new emoji, enhanced security, podcast transcripts, Apple Cash virtual numbers, and other useful features. There are even new additions hidden within Safari. Find out what's new and changed on your iPhone with the iOS 17.4 update.


3 Comments
So what's wrong when you try to install the android-winusb.inf and it says "The INF file you selected does not support this method of installation." ?
Running Windows 7 64bit if that changes anything
That's unfortunate. That means you have to wait until your devices isn't recognized by windows, then use the device manager to point it to that file.
What do you mean "wait until your devices isn't recognized by windows"? How do we get that to happen? Do we just have to keep trying to install android-winusb.inf until it works?
Share Your Thoughts