
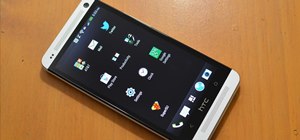
Returning your device to stock, whether it is because you need to sell it or just want to receive OTAs again, is not always a simple process. Since HTC has released countless variations of both the M7 and M8 HTC One, it can be a pain in the ass finding the right files and tools to get your phone back to stock settings.
The general process is mostly the same across all devices, but the files and exact steps vary depending if you are using a Sense or Google Play Edition device. Before getting started, I'd recommend reading this entire guide one time to make sure your device meets all the qualifications.
Prerequisites
- Your HTC One MUST be S-Off.
- Root permission will also be needed if you plan on resetting the warning flags on your bootloader menu.
- In order to avoid any hiccups during file transfers, you will need to use a USB 2.0 port when connecting your One to your computer.
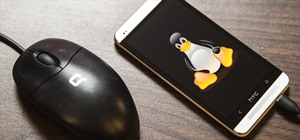
- ADB and Fastboot will be need in order to send the install commands to your device. It does not matter whether you are using a Windows PC or Mac, just be sure that you are using the latest version of ADB/fastboot.
- Enable USB Debugging in order to send ADB commands to your One.
- It should go without saying, but this will completely wipe your device, so be sure to back up your pictures, music, and videos before starting.
If You Are Coming from a Converted Google Play Edition M8
The Google Play Edition version of the HTC One M7 is fairly simple to convert back and forth between Sense and Vanilla Android, but that is not the case with the M8. Due to some system partition size differences, you must first flash a Sense firmware file before being able to go back to stock Sense. If you are using a converted M7, you can skip this section and go directly to "Reset Warning Flags" below.
Step 1: Reset CID
The CID of your device is one of the many indicators that decides which firmware and ROMs you can install. Since you converted your original CID to the Google version you will need to bring it back to a Sense compatible version to install the appropriate firmware file. In this case we will use the universal Super CID. To get started plug your device into your computer, open up either Command Prompt (Windows) or Terminal (Mac/Linux), and then enter the following commands:
- adb reboot bootloader
- fastboot oem writecid 11111111
- fastboot reboot

Once your device reboots, do not unplug it from your computer.
Step 2: Reset MID
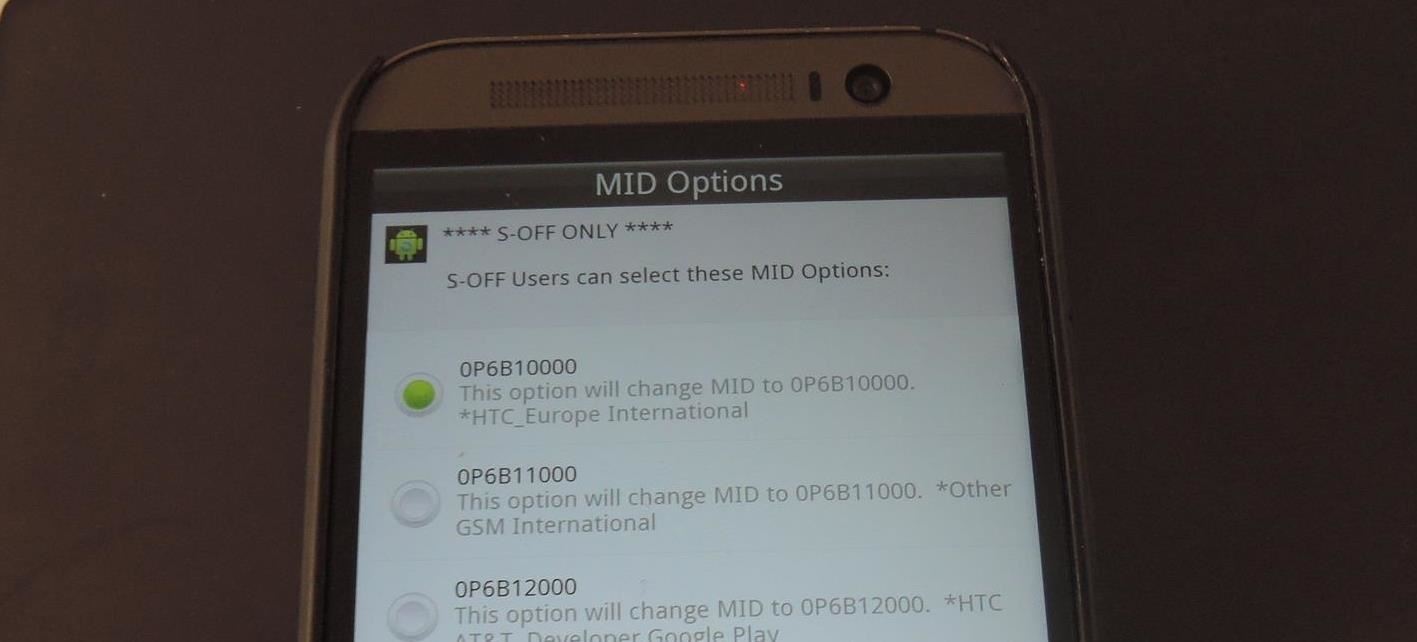
If you needed to change your MID in order to flash the Google Play Edition RUU, you now need to change it back in order to flash your original carrier's ROM.
Download the MID Changer Tool, created by XDA user squabbi, onto your phone and flash it in TWRP recovery.
To boot into recovery mode, press and hold down the power and volume down buttons until you see the bootloader menu. Under HBOOT, you will see Recovery, so select it with the power button and wait for TWRP to start.
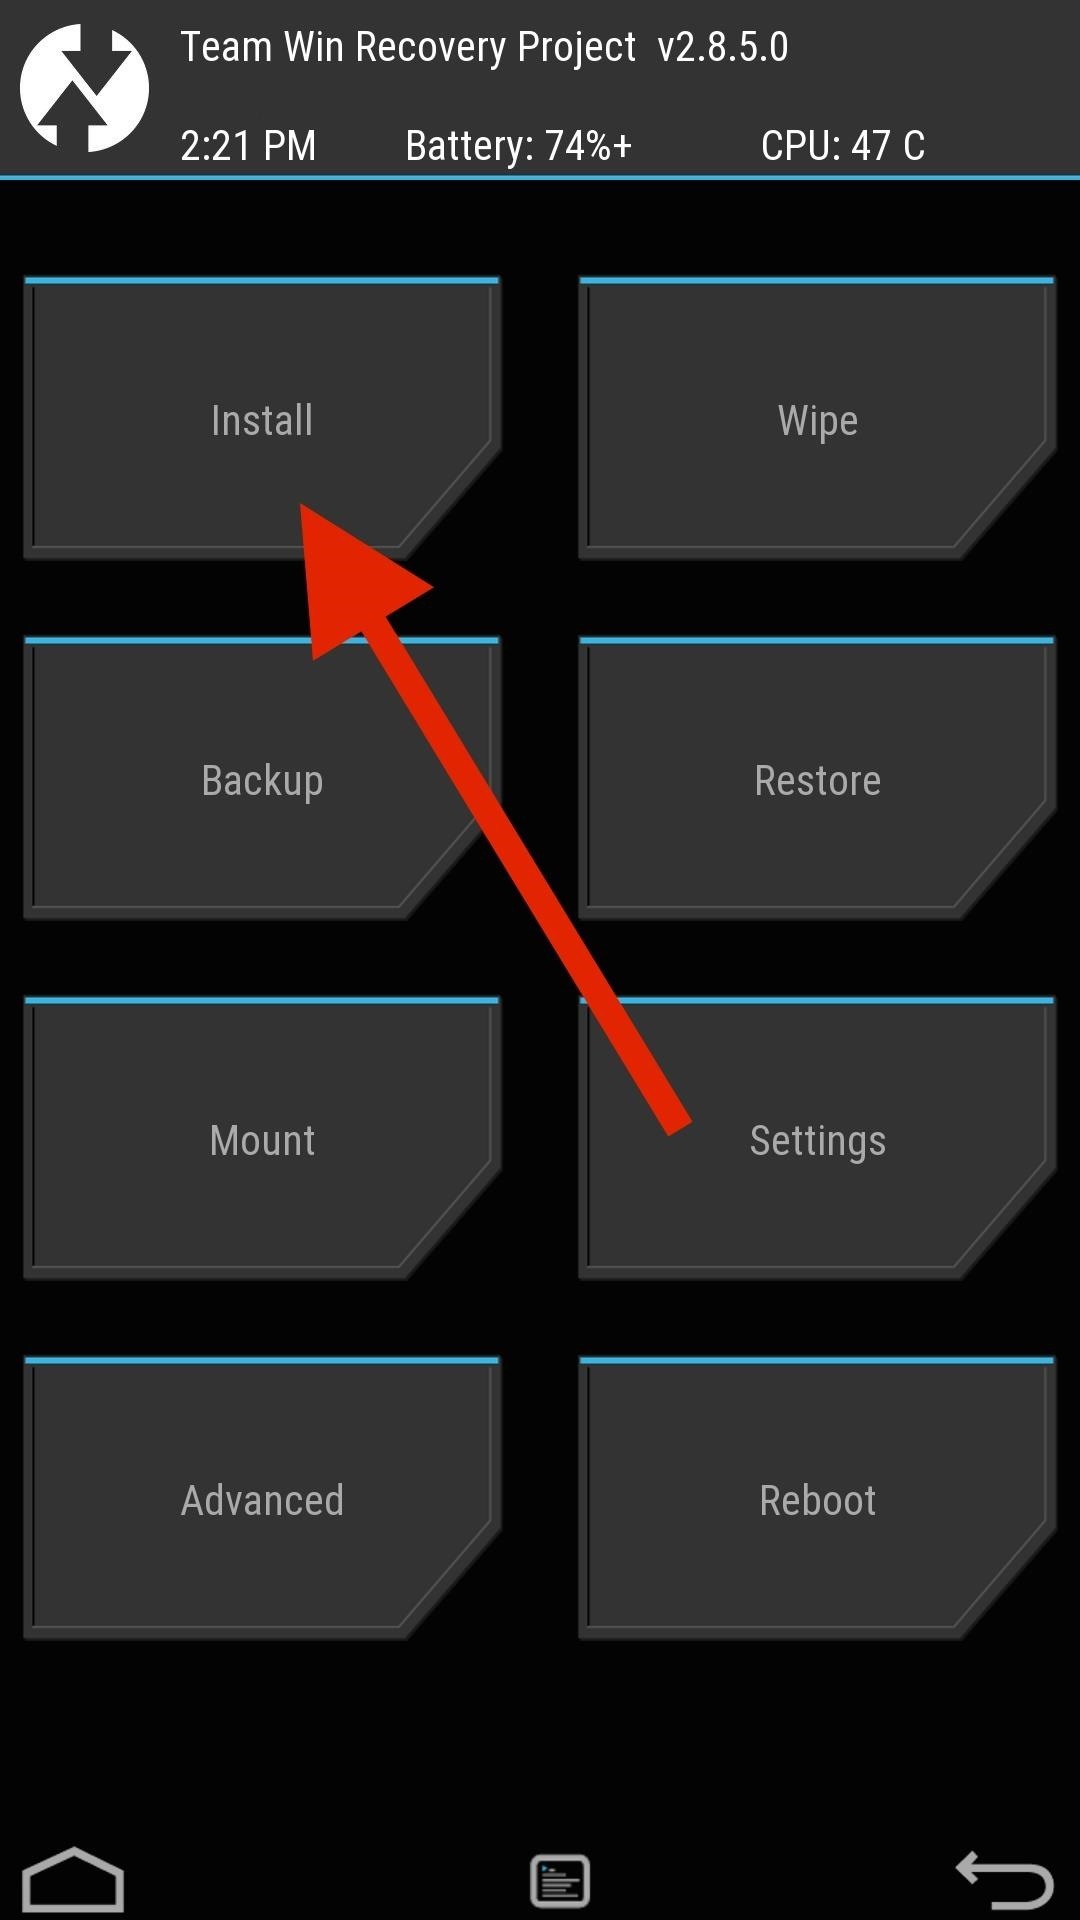
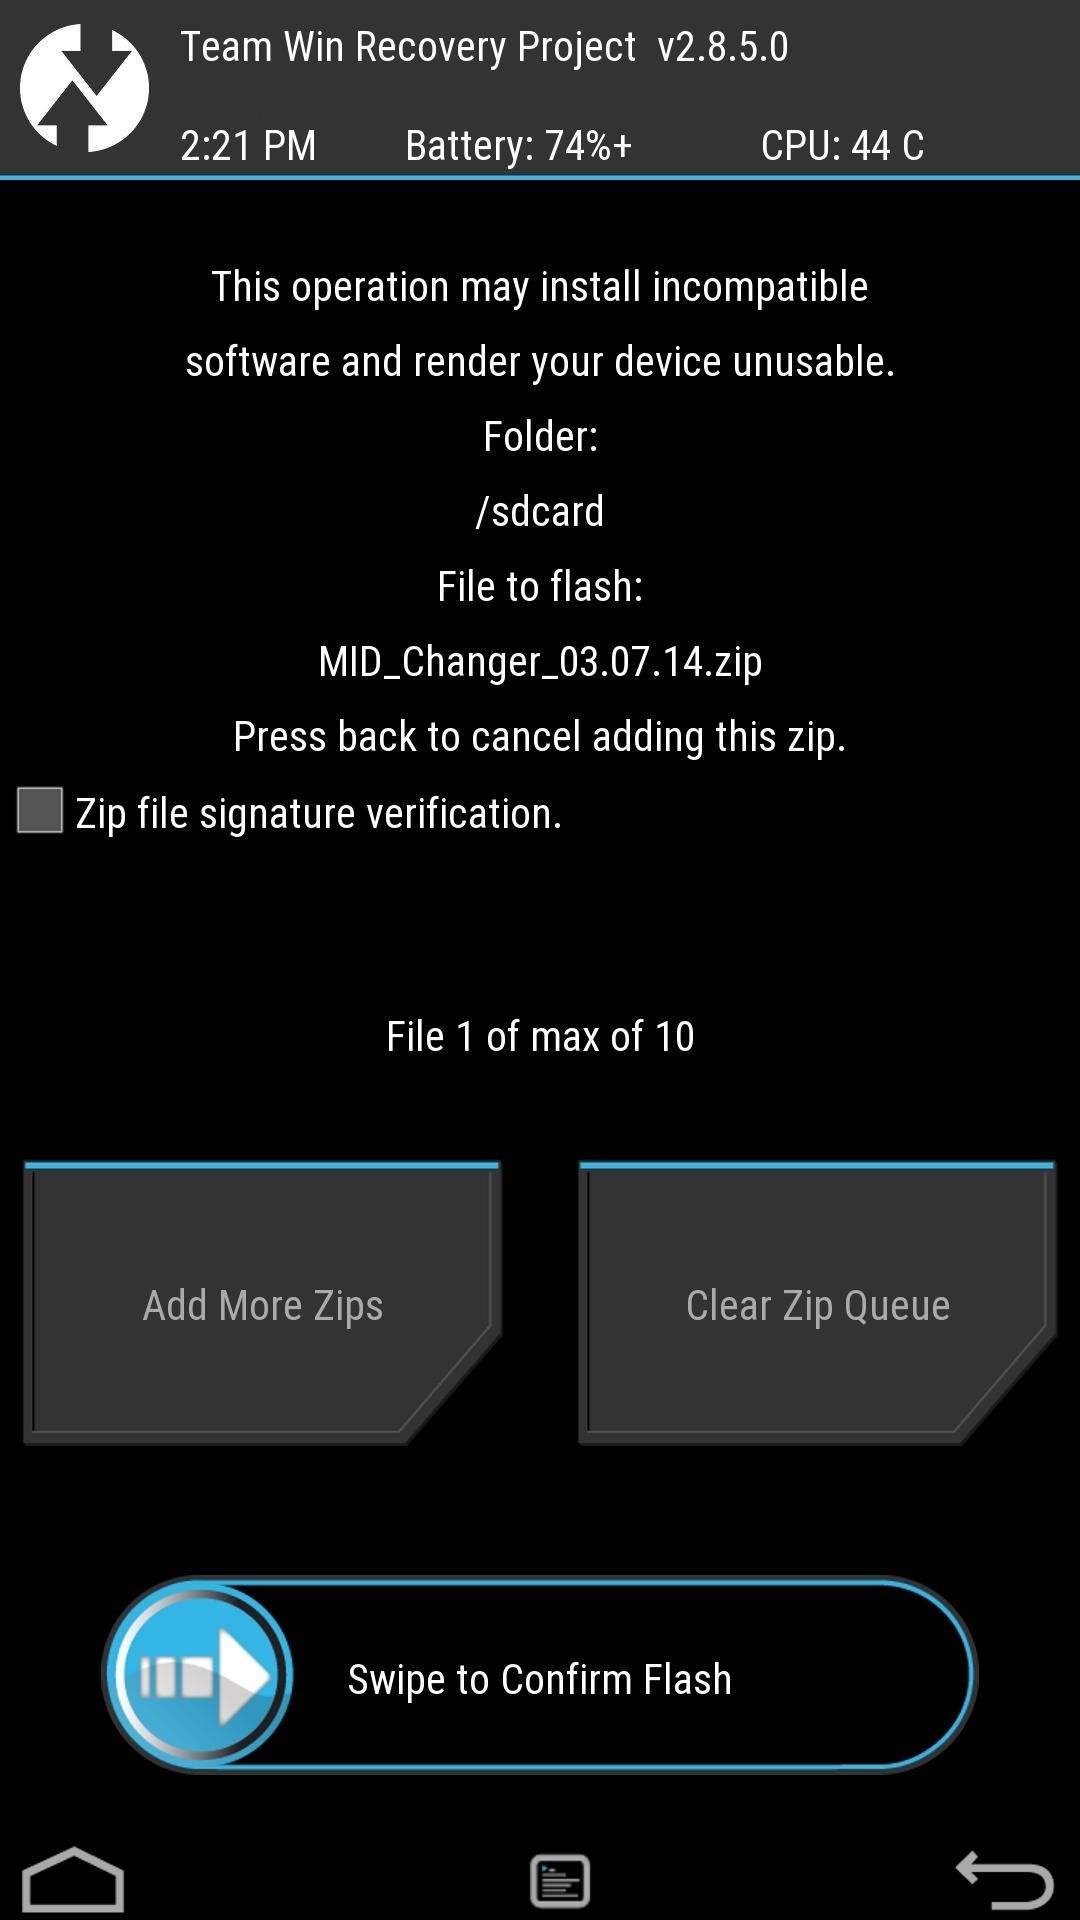
Once you are in TWRP, tap Install, select the MID Changer Tool file, and then swipe to install. The Aroma installer will then start automatically, so go through the warning screen and when prompted, select the carrier you want to revert back to. After the flash is completed, do not tap reboot—instead, go back to the main menu, tap Reboot and select Bootloader.
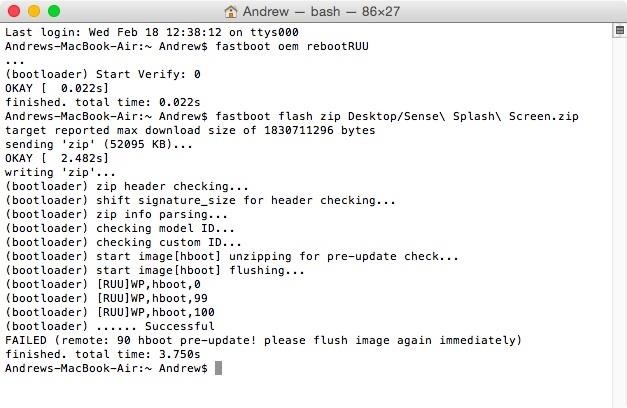
Step 3: Flash Sense Splash Screen
You may have noticed that when you converted your M8 that the HTC logo that appeared when you turned on your device was switched to a Google logo. Unfortunately, this image cannot be restored when flashing the original carrier files, so instead we will need to flash a file through fastboot. Download the original Sense splash screen to your computer, then enter the following fastboot commands:
- fastboot oem rebootRUU
- fastboot flash zip "location-of-splash-screen.zip"
This command will then take about a minute to complete, but once it does, you will see a line that reads FAILED (remote: 90 hboot pre-update! please flush image again immediately). Your One will also reboot once that last command is issued, so wait until you see the HTC logo again before continuing with the following:
- fastboot flash zip "location-of-splash-screen.zip"
- fastboot reboot-bootloader
Step 4: Flash Sense Firmware
Now that you have the Super CID and original MID flashed onto your One, you are ready to install the Sense firmware. Download the Sense firmware onto your computer and place it somewhere you can easily access it. With your device still at the bootloader menu and plugged into your computer, use these commands to install the firmware ZIP file:
- fastboot oem rebootRUU
- fastboot flash zip "location-of-firmware.zip"
Just like in the previous step, wait until you see FAILED (remote: 90 hboot pre-update! please flush image again immediately) in the terminal windows and for your M8 to display the silver HTC logo. Now issue the following:
- fastboot flash zip "location-of-firmware.zip"
- fastboot reboot-bootloader
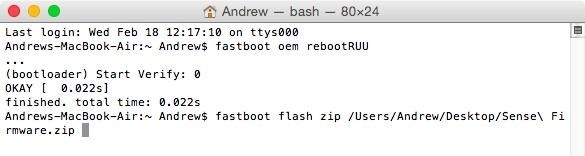
Again, leave your device plugged in and at the bootloader menu once the command are completed.
Step 5: Wipe Your Device from Stock Recovery
Your M8 is now running a Sense-based firmware, but it is still not partitioned correctly to accept the stock Sense ROM files, so you'll need to boot into the stock recovery and factory reset your device storage.
Make sure that HBOOT is highlighted in your bootloader menu, then press the power button. From the HBOOT menu, scroll down to Recovery using the volume down button, then press the power button again. Once you see the HTC One with a red exclamation point, hold down the volume up button and press the power button.
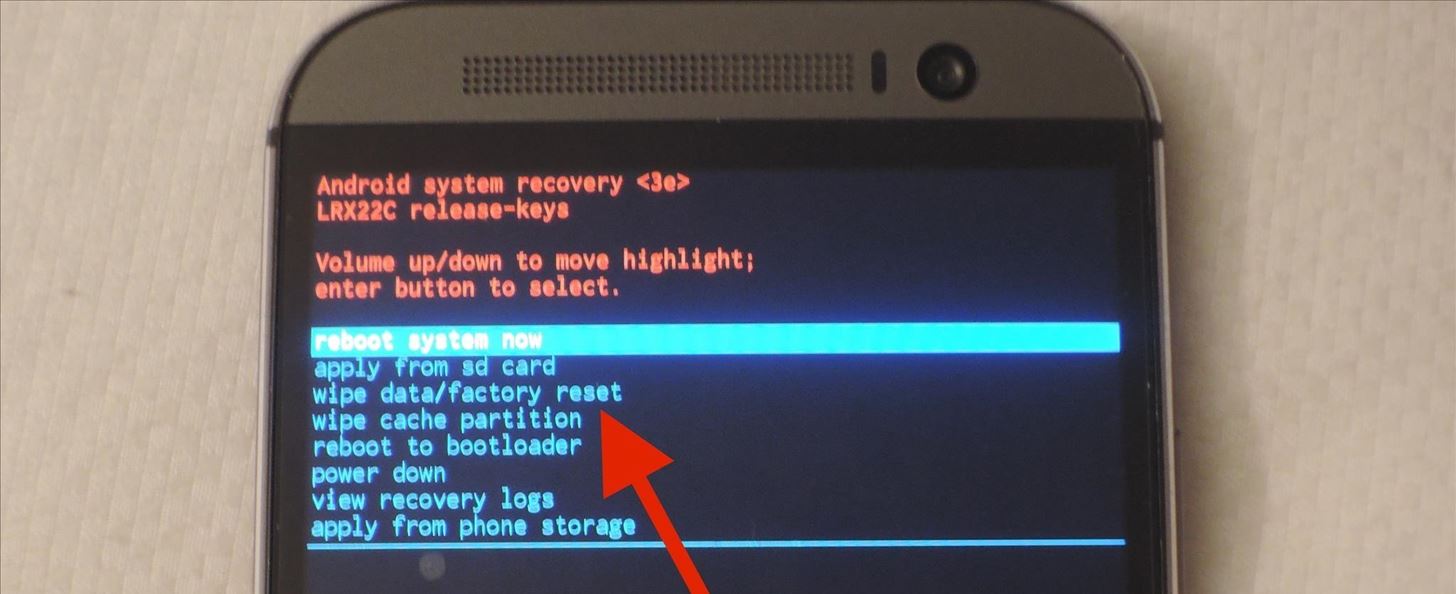
Scroll down to wipe data/factory reset, press the power button, and scroll down to the "Yes" option. After the reset is finished, select reboot to bootloader.
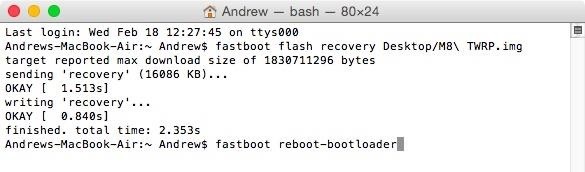
Step 6: Install TWRP
The last thing to do is flash a Sense-based ROM so that we can eventually get rid of the warning flags at the top of the bootloader menu.
In order to flash a ROM, you'll need to download a copy of the latest M8 TWRP file and flash it to your device. Place the downloaded TWRP.img file somewhere safe on your computer, then enter the following commands:
- fastboot flash recovery "location-of-TWRP.img"
- fastboot reboot-bootloader
Step 7: Wipe in TWRP
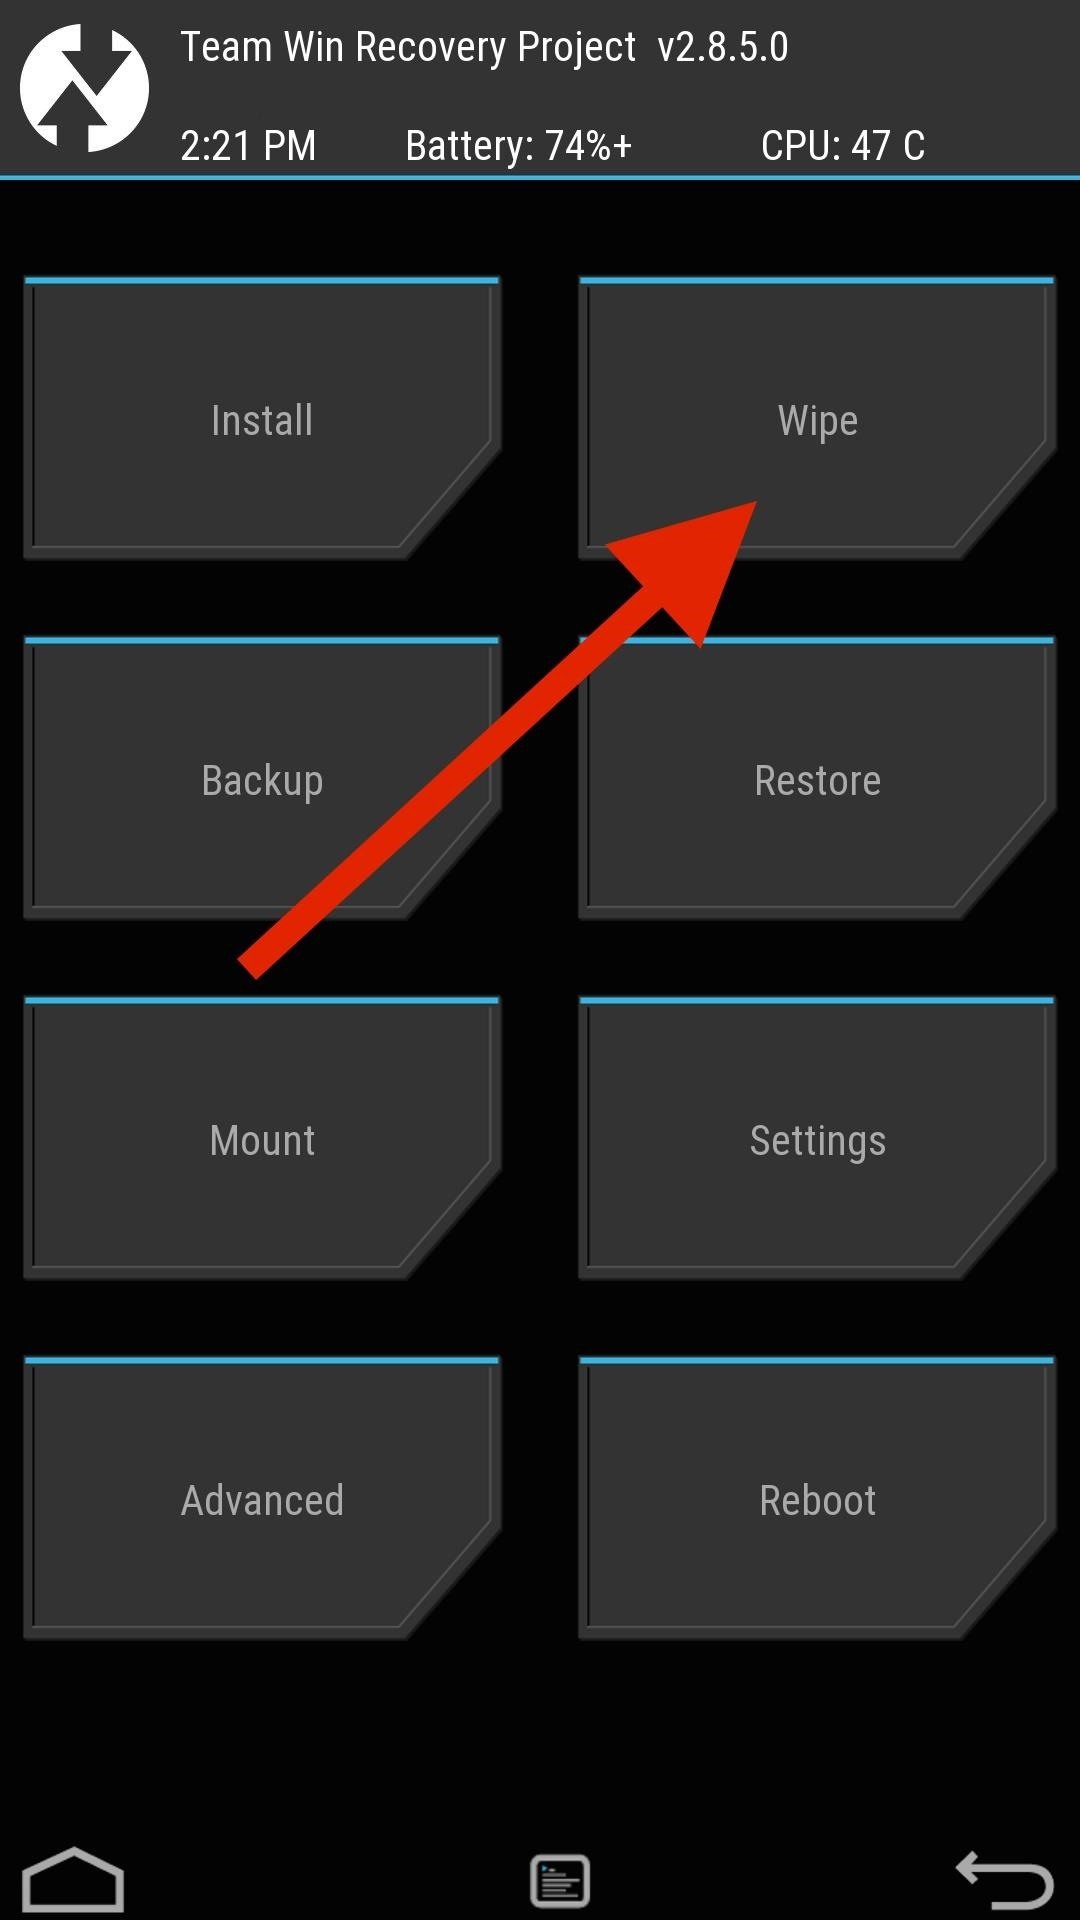
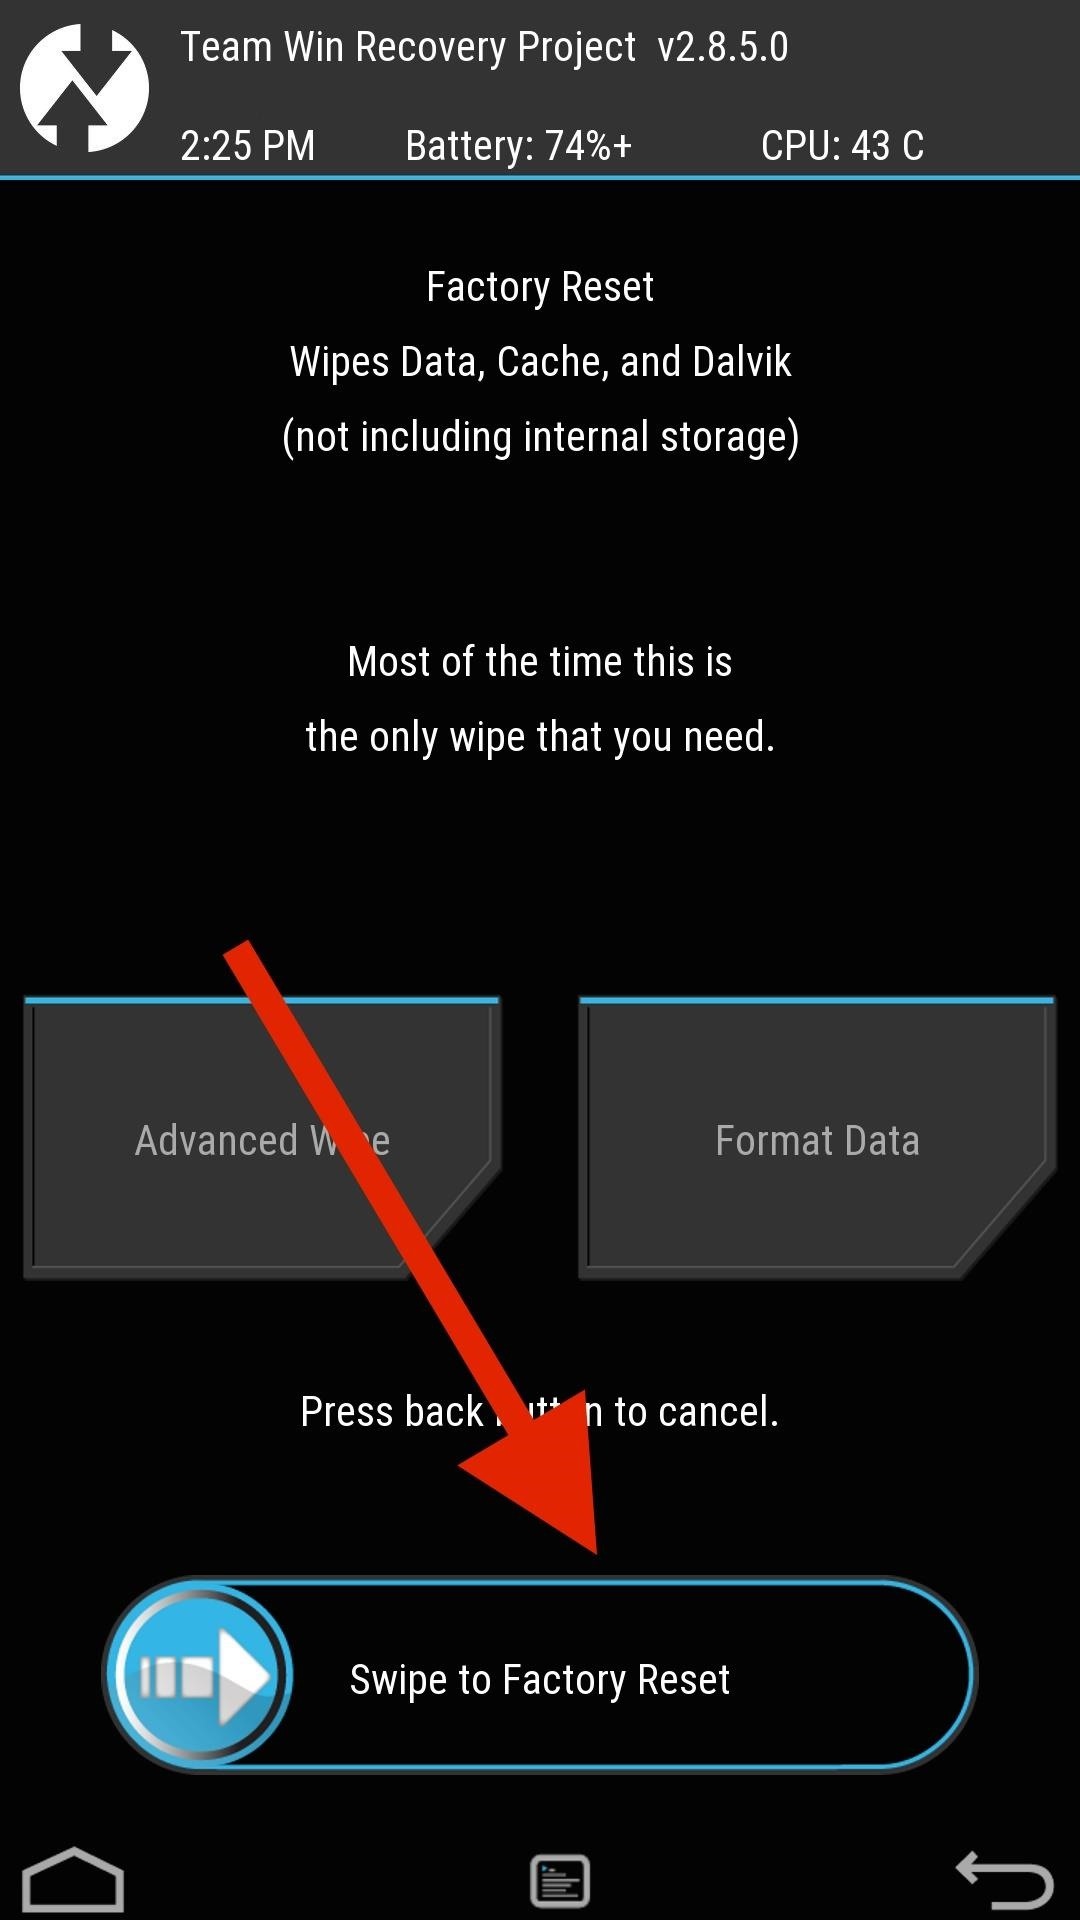
Now TWRP is installed on your device as a custom recovery, so use the HBOOT menu to boot into it like we did in Step 3. Once TWRP boots up, tap Wipe and swipe to perform a full factory reset.
Step 8: Sideload Sense ROM
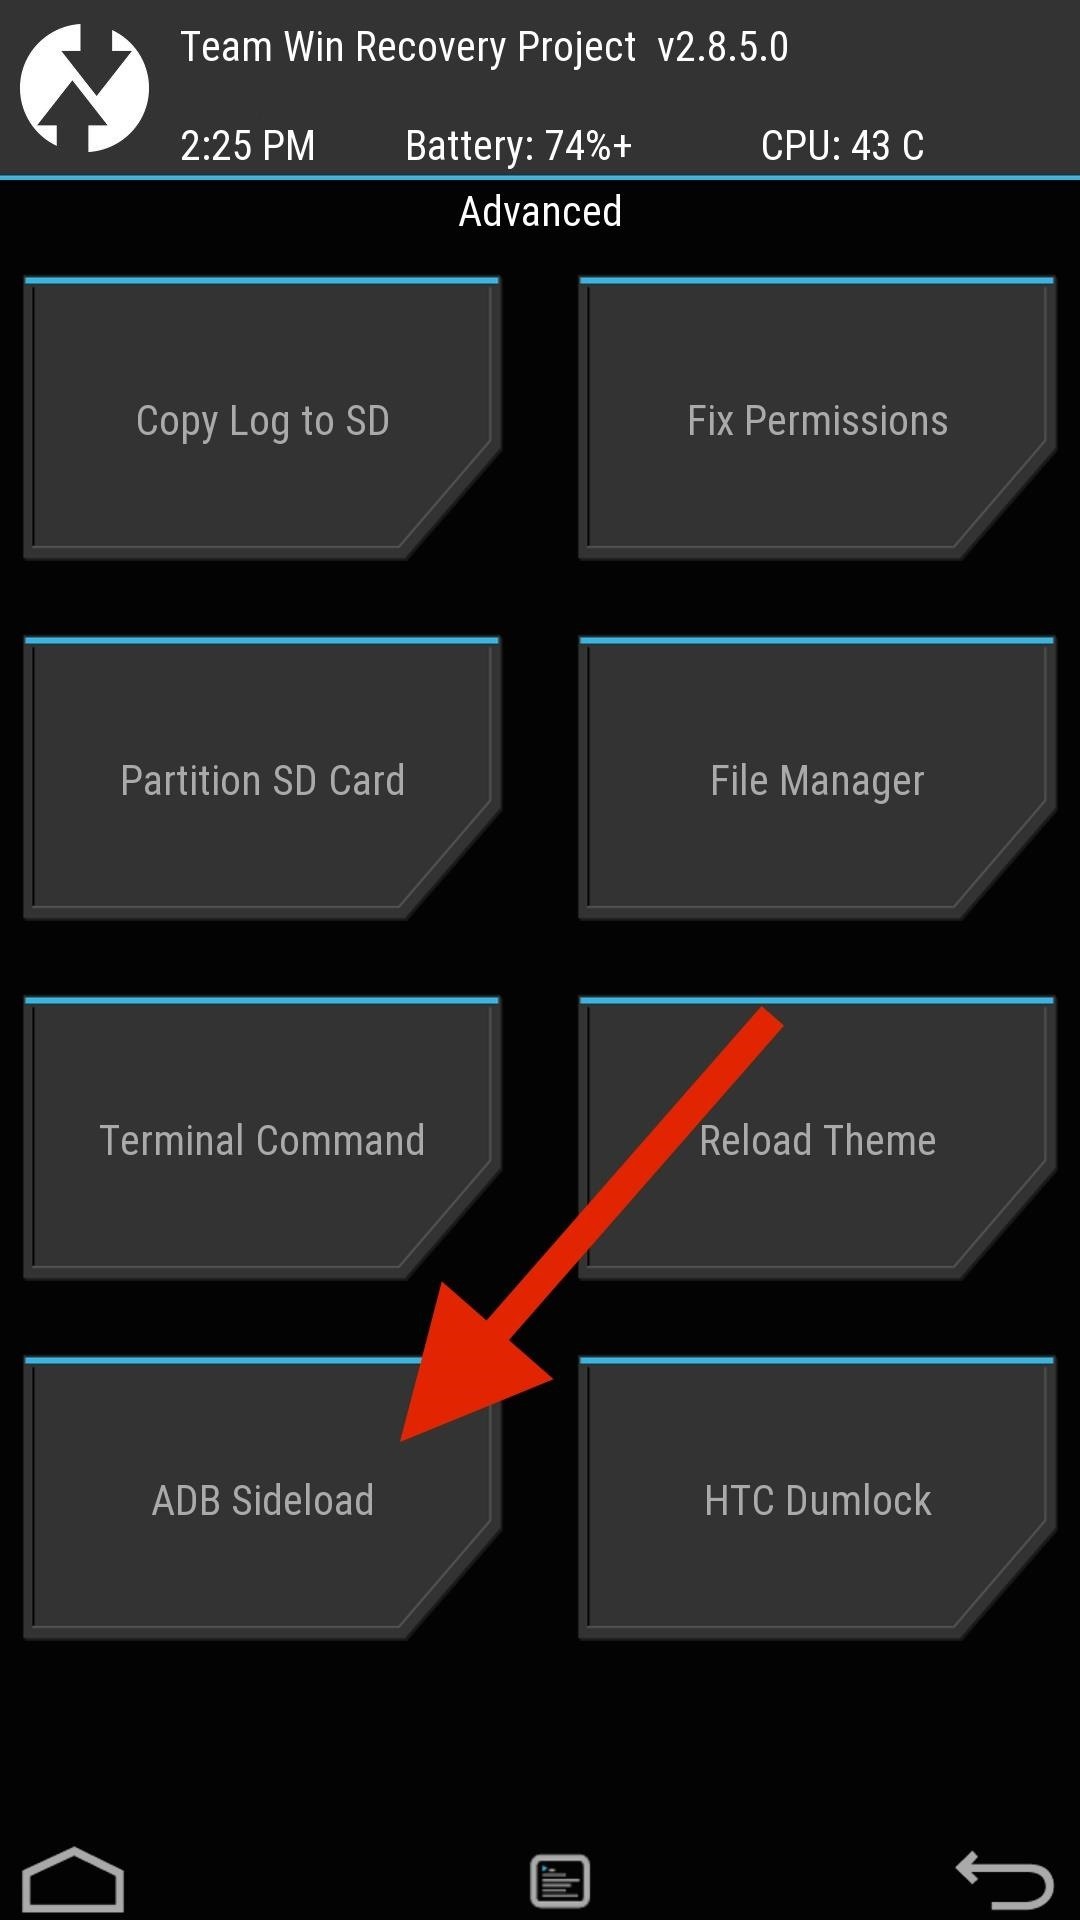
To install a Sense ROM onto your M8, I'll be using the latest ARHD ROM by Android Revolution HD. However, unlike traditional ROM installatios, we will need to sideload it since we do not have a ROM.zip file in internal storage. To start the process, tap Advanced -> ADB Sideload and swipe.
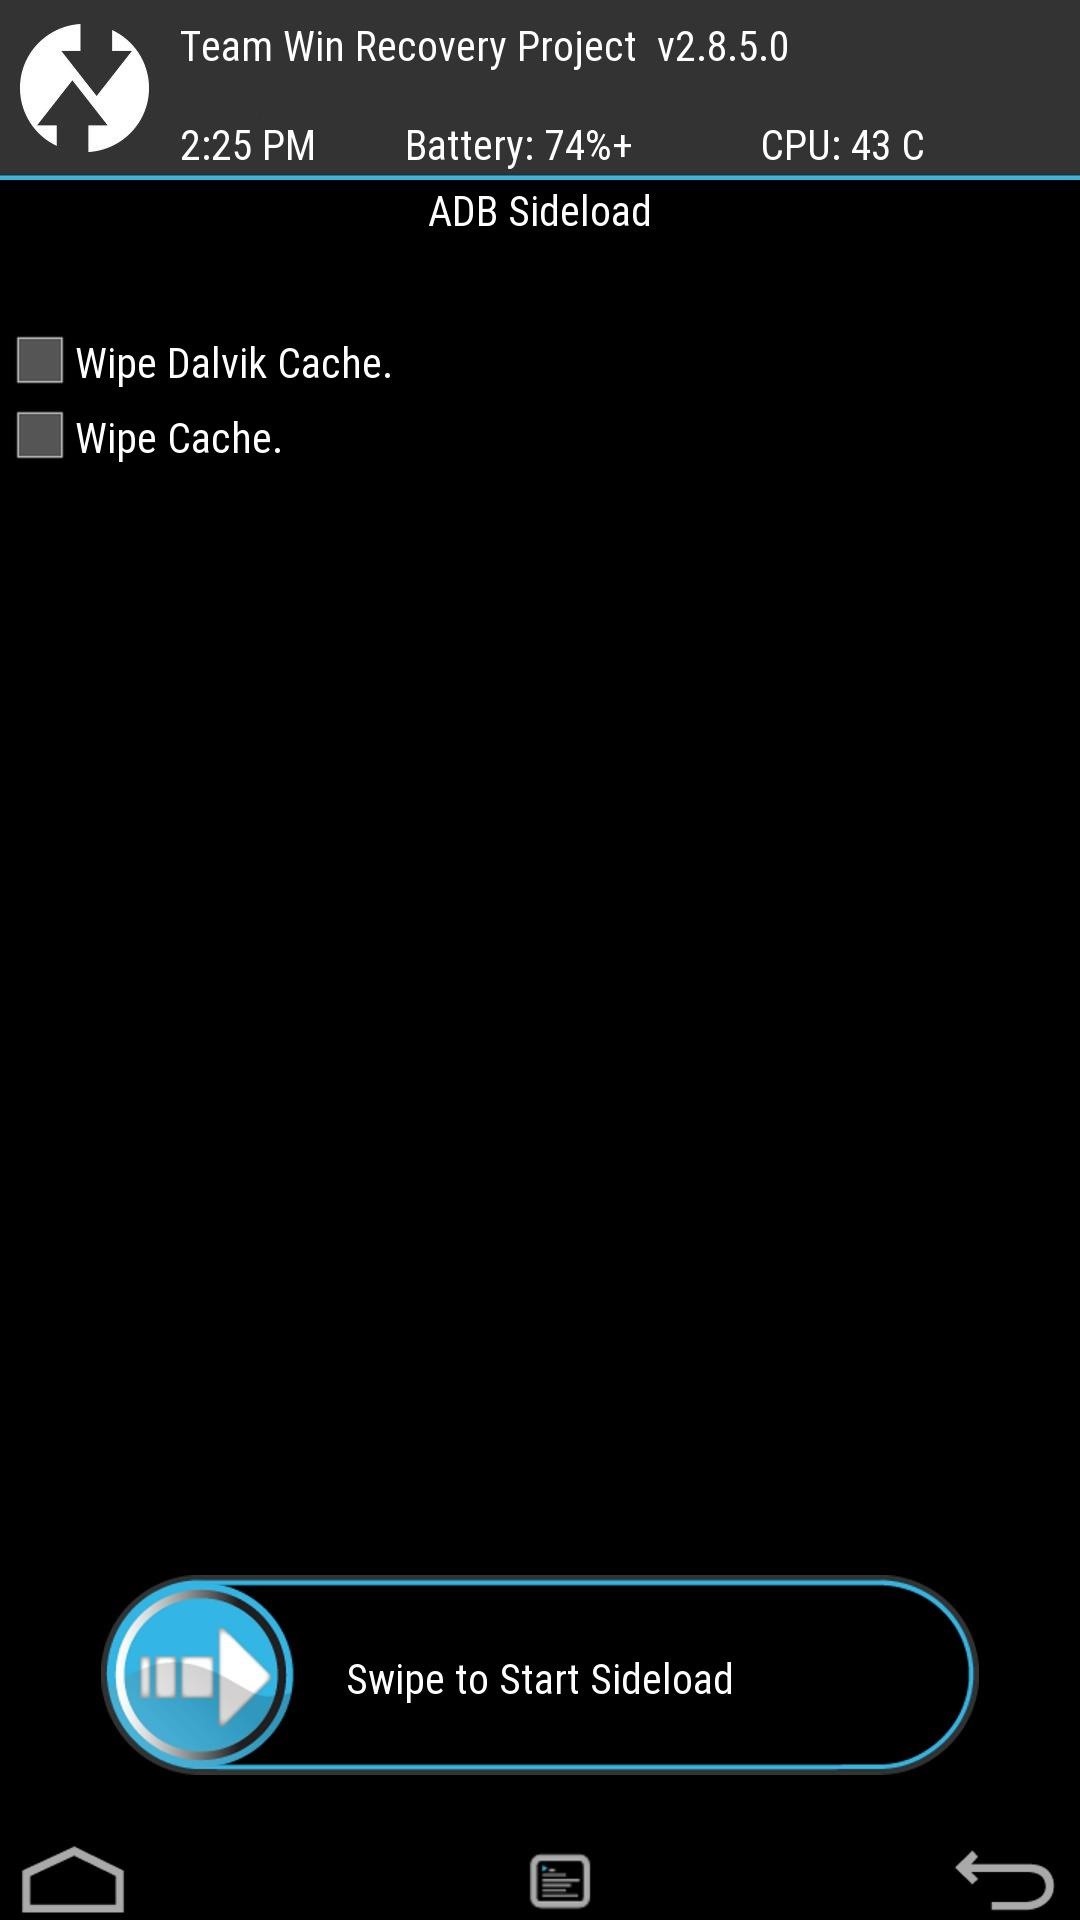
Now sideload the ROM to your phone using the following ADB command:
- adb sideload "location-of-ROM.zip
You may also want to check the description of your ROM to see if there is an Aroma installer associated with the installation. If there is, make sure you keep your M8's screen on the entire time because if it locks, you'll have to start over. After the sideload is complete, tap Reboot, set up your M8 as if it was brand new, and enable USB Debugging. Your M8 is now running a rooted, Sense-based ROM so we can finally get started on returning it to HTC's factory conditions.
Reset Warning Flags
The telltale sign that your device has been modified is the Warning Flags at the top of your bootloader menu. These either say something like "UNLOCKED" or "TAMPERED" and can prevent you from getting your phone serviced if you send it to HTC.
In order to set those indicators back to their original state, you'll need to enter a few ADB commands while your device is booted to a Sense-based ROM.

The commands vary between the M7 and M8, so make sure you are using the correct one. After the commands are issued, leave your One plugged into your computer and on the bootloader menu.
M8 Commands
To remove TAMPERED:
- adb shell
- su
- echo -ne '\x00' | dd of=/dev/block/mmcblk0p6 bs=1 seek=5314564
- exit
- exit
- adb reboot
To switch from UNLOCKED to LOCKED:
- adb shell
- su
- echo -ne '\x00\x00\x00\x00' | dd of=/dev/block/mmcblk0p2 bs=1 seek=33796
- exit
- exit
- adb reboot-bootloader
Your bootloader menu should now only display LOCKED at the top.
M7 Commands
To remove TAMPERED:
- adb shell
- su
- echo -ne '\x00' | dd of=/dev/block/mmcblk0p7 bs=1 seek=4265988
- exit
- exit
- adb reboot
To switch from UNLOCKED to LOCKED:
- adb shell
- su
- echo -ne '\x00\x00\x00\x00' | dd of=/dev/block/mmcblk0p3 bs=1 seek=33796
- exit
- exit
- adb reboot-bootloader
Your bootloader menu should now only display LOCKED at the top.
Finding the Right RUU for You
You now have a device that has no indication of being modified, but in order to get the software back to stock, you'll need to use a RUU, aka ROM Update Utility. The RUU installs all of the original, carrier-specific system files that shipped with your device, so be sure to download the file that matches your device exactly.
M8 RUU.zip Filess
- Verizon M8 RUU.zip (courtesy of Dottat).
- T-Mobile M8 RUU.zip (courtesy of Sapplegater)
- AT&T M8 RUU.zip (courtesy of An0ther)
- Sprint (non-Harman Kardon Edition) M8 RUU.zip (courtesy of O.M.J)
- Sprint (Harman Kardon Edition) M8 RUU.zip (courtesy of O.M.J)
- Developer Edition M8 RUU.zip (courtesy of Nkk71)
M7 RUU.zip Files
- Verizon M7 RUU.zip (courtesy of Ak074)
- T-Mobile M7 RUU.zip (courtesy of HTC1Guru)
- AT&T M7 RUU.zip (courtesy of clsA)
- Sprint M7 RUU.zip (courtesy of O.M.J)
- Developer Edition M7 RUU.zip (courtesy of HTC1Guru)
Flash RUU File
Download your RUU.zip file directly to your computer and enter the following commands to begin the flashing process:
- adb reboot bootloader
- fastboot oem rebootRUU
- fastboot flash zip "location-of-RUU.zip"
This command will take about a minute to complete, and once it does, you'll see a line that reads FAILED (remote: 90 hboot pre-update! please flush image again immediately). Your One will reboot once that last command goes through, so wait until you see the HTC logo again before continuing with the following:
- fastboot flash zip "location-of-RUU.zip"
- fastboot reboot
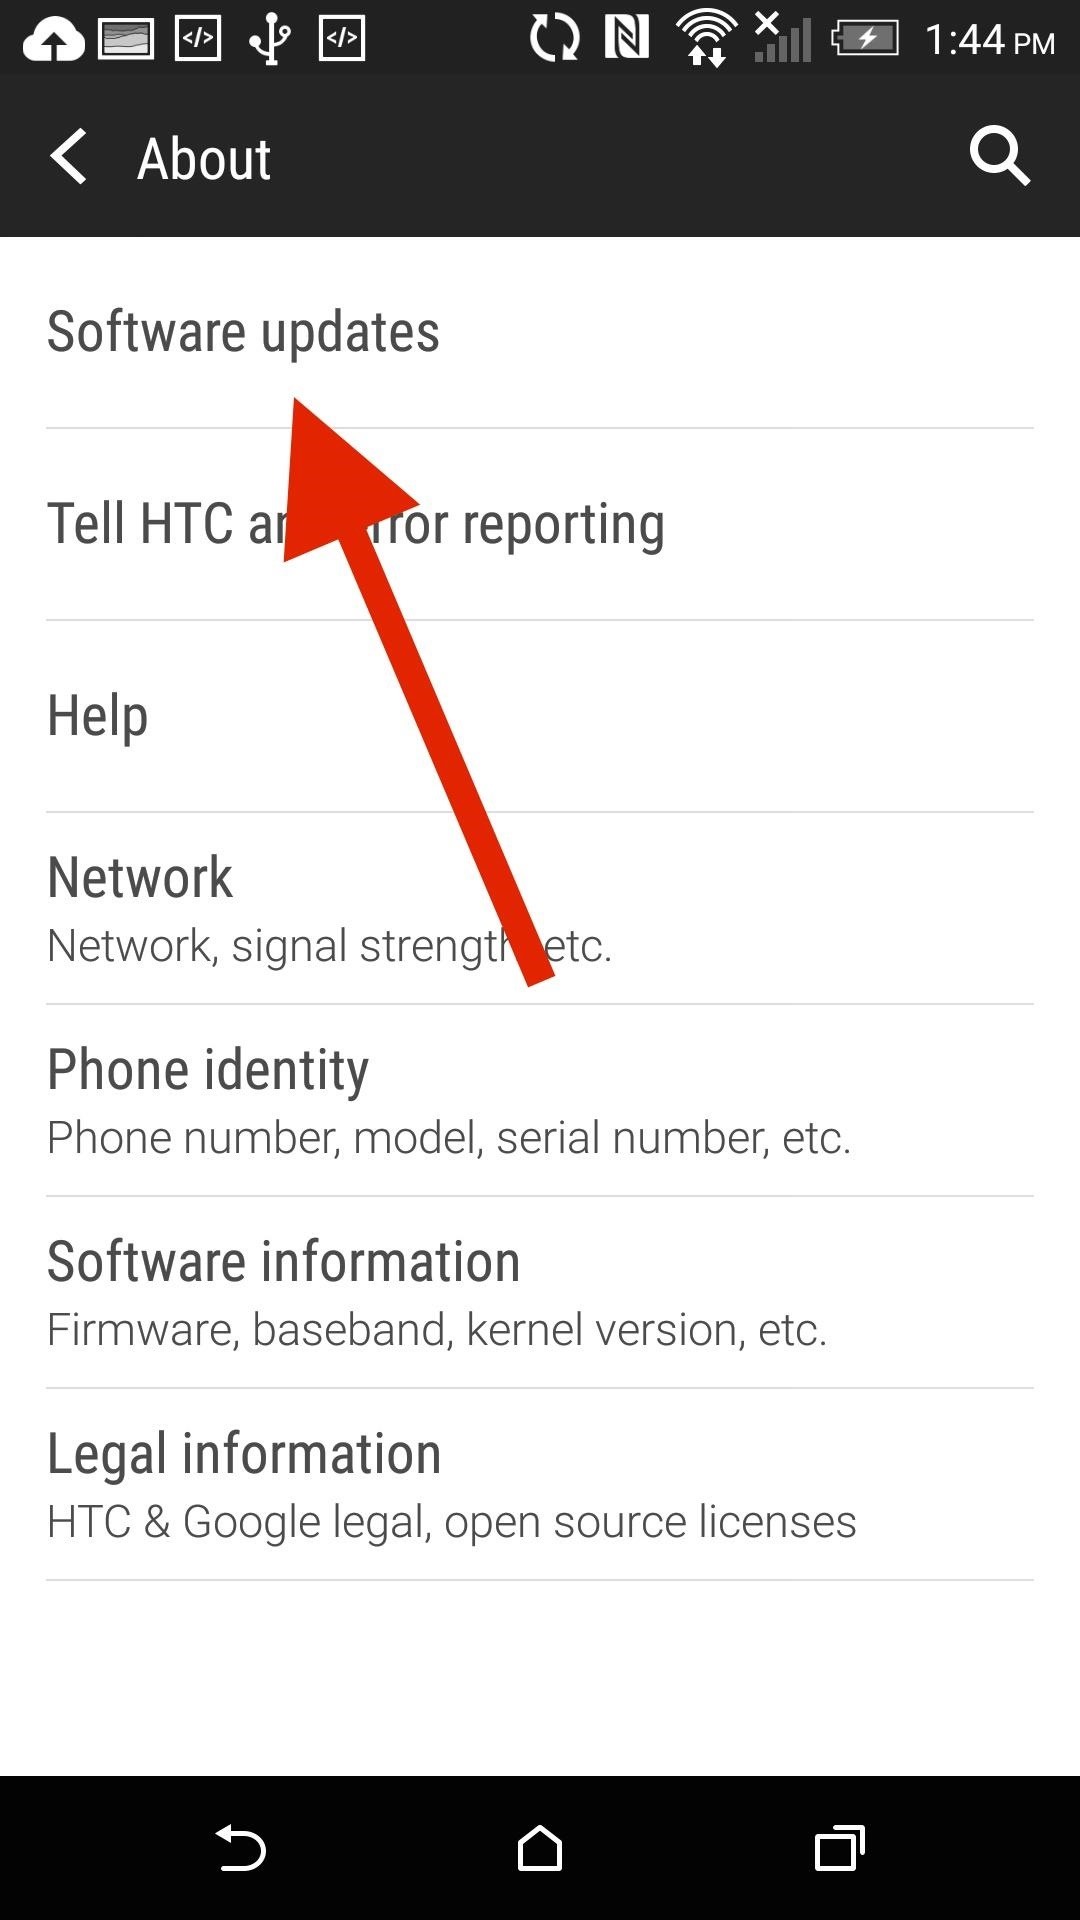
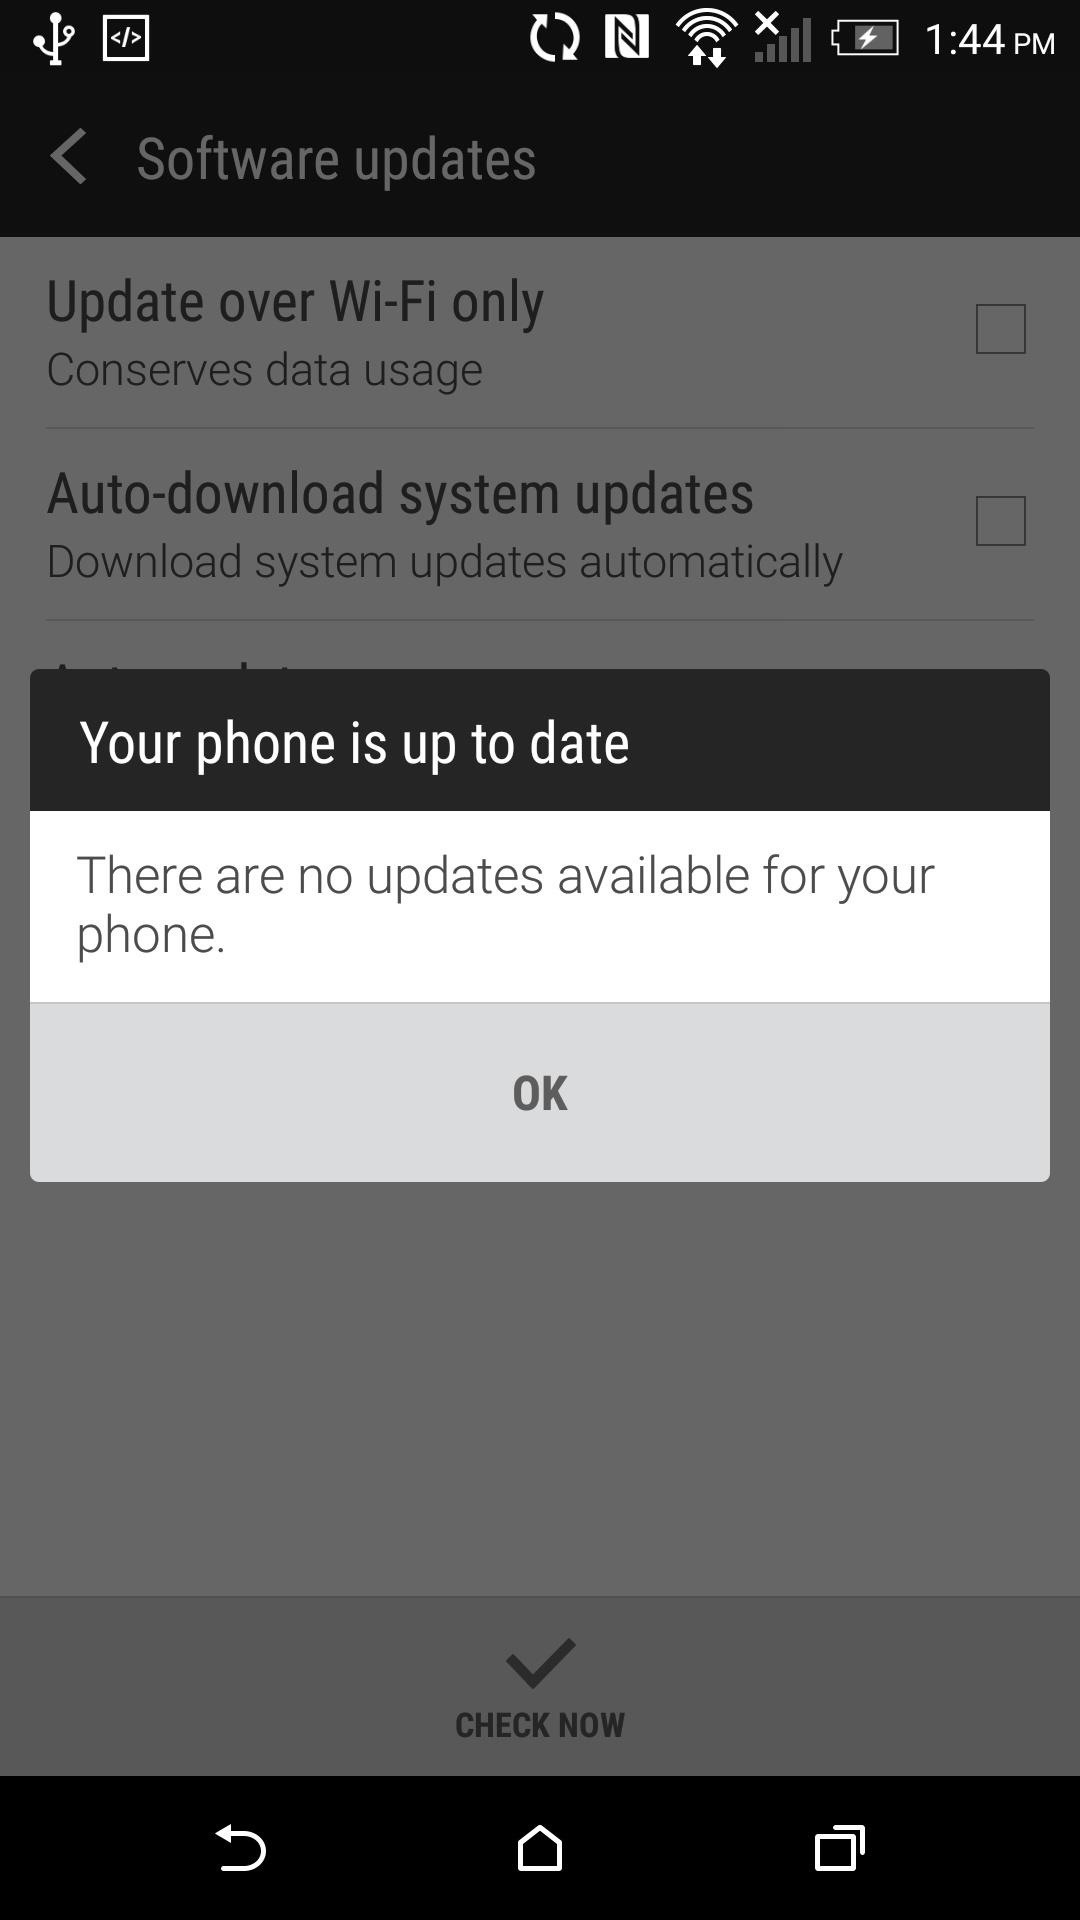
Check for OTAs
Your One will now boot up as if it were a brand new device, so go ahead and enter your Google credentials to begin restoring all of your apps and contacts.
You will also need to check for OTA updates since some of these RUUs are outdated (Settings -> About -> Software Updates). It may take a few hours for updates to be pushed to your device, so be patient. OTAs will install just fine as long as you have an unrooted, unmodified device.
Set HTC One to S-On
If you're planning on sending your device in for repairs, you need to go from S-Off to S-On. Know that if you do this, there is no way of going back without paying for the Sunshine utility, so only do this if you really need to. To go back to S-On, enable USB Debugging and reset your security settings with the following commands:
- adb reboot bootloader
- fastboot oem writesecureflag 3
- fastboot reboot
And if you find yourself having any problems or are stuck at a particular step, be sure to drop me a comment below.
Follow Android Hacks over on Facebook and Twitter, or Gadget Hacks over on Facebook, Google+, and Twitter, for more Android tips.
Just updated your iPhone? You'll find new emoji, enhanced security, podcast transcripts, Apple Cash virtual numbers, and other useful features. There are even new additions hidden within Safari. Find out what's new and changed on your iPhone with the iOS 17.4 update.


33 Comments
Hi, I can't enter TWRP (step 7). It says "entering recovery" but it never does.
Did you flash the right TWRP for your device?
Hi! I got it work thru flashing a newer firmware. But now when i have don all steps and starting the phone after flashing a sense based rom, my phone just go back to recovery.
Did you sideload ARHD in TWRP without errors?
i didn't side load. I just transferred it via the computer. I just dragged and dropped the file int file manager in windows
And what happened after you flashed it?
Hello Andrew,
Did all that you asked for in the post related to how to S-off, Then I realized that it can only be done by SunShine. But Sunshine doesn't accept BitCoin and I am now trying to get back to stock. My Phone isn't s-off and I don't have a nandroid back up. will AHRD work for SunShine if not... Can you please point me to NAND backups for att phones - to stock
Thank you.
M7 or M8?
hey! I'm using a mac , when i enter "adb reboot boot loader" it says command not found and i don't think it even detects my phone . But when i use android file transfer (program) i can see all the files
It should read: "adb reboot bootloader" delete the space you added and it should work fine.
Hi,
Every time i type the command in cmd prompt I get error message as I am still in C directory
How do I get the command to take effect on the phone
You have to add the full location path to the command in order for it to locate files outside of the main C directory.
Thanks, and I appreciate your effort. But I am really struggling with this location thing as all commands are rejected as not a c:\ command even though i added the identified location to the end of the command. please help and give me a sample
If you place the file in the root folder of your hard drive the command will read "adb sideload C:/ROM.zip"
Hi,
I try flash RUU but failed with message:
(bootloader) checking model ID...
FAILED (remote: 41 model id check fail)
I'm come from SD GPE.
Thank You
Fairly new to this. I got a phone from a friend since I broke my phone but told me it's rooted and rom. I am connecting to my Sprint service and noticed I can't do any of the functions necessary to connect to service. How do I go about this without bricking the phone. I have TWRP 2.8.6.0 version on this phone. while installing it asked me to do FACTORY RESET and it always ends up in TEAMWIN flashing screen. Any help or direction would help. I already put phone in the system online. I do not want to go to a Sprint Store for them to say my phone is tampered with. Can you guys help? thanks so much.
What is the phone's original carrier?
Hi, can I flash the twrp without root and without unlock bootloader but it already s off and change to super cid.
Can I convert my att to gpe with method above.
You need to have an unlocked bootloader in order to flash TWRP.
Hi, I'm stuck at:
fastboot flash recovery "openrecovery-twrp-2.8.5.0-m8.img"
target reported max download size of 1826418688 bytes
sending 'recovery' (16086 KB)...
OKAY 1.497s
writing 'recovery'...
FAILED (remote: not allowed)
finished. total time: 1.515s
The status on the phone reads "RELOCKED"
Can you please help?
You cannot flash TWRP with a relocked bootloader. Unlock it and try again.
The commands are only for HTC ONE M7 & M8. Can you please provide the commands for HTC ONE E8.
Thanks in advance.
Hey i am having a international version htc one m8
whats the ruu i should flash ???
the developer version one ???
in Step 5 after i factory reset my phone, i dont have the option reboot into bootloader... help me please!!!
Hey i am also having a international version htc one m8
whats the ruu should i flash ???
I have difficulty sending command from my macbook to the m7.
Installed the adb/fastboot as instructed. Here are all details abt both Mac and m7 that might help deduce problem.
Sync Manager is Installed on mac book.
Hboot is version 1.44, twrp is version 2.4.4, runs on custom ROM, boot loader is tampered and unlocked.
Once I plug the phone, photos app pop up on the Mac with all my mobile pics, whenever I type adb shell in terminal, it states "command not found". Pls help
Pls what is the meaning of this when I try to install the RUU
C:\adb>fastboot flash zip 0P6BIMG.zip
target reported max download size of 1826418688 bytes
error: cannot load '0P6BIMG.zip'
Can someone please repost a link to the Sense firmware? The current link is broken and every other version I've tried fails when I try to flash it. Thank you.
Hey Andrew thank you for your excellent instructions. I am wondering if there are any similarly clear directions that will guide me through this process using windows or ubuntu OSs. I am a bit of a newbie and am unable to translate the mac instructions to the platforms mentioned and all the other advice that I have found is bit confusing for me. Any referrals or advice would be very much appreciated. Thanks
Useful guide however I had to use a 5.14x series firmware and then install a kitkat RUU otherwise the RUU would complain about being too big (might have something to do with previously convert to GPE/Back to sense).
Thanks for the useful information :-)
hi i need help with my htc one M7 i wanted to install 5.0 but now i have 4.4.3 and i want to upgrade my software mine is 6.13.708.1 and i got my M7, 2 days back new , and i cant do it. i need your help
Hi, I'm new to android and I just purchased HTC one M8. I would very much love to get Android 6.0. The bootloader is LOCKED but it is currently showing S-OFF and i tried the command on the setting the S-On page but its not working. Any updates I tried installing tells me my HTC is modified. Any help please?
Thanks a lot for the lovely article. Kizi 2 really appreciate it.
Share Your Thoughts